Auto-Routing the Whole Board (Autoroute)
Autoroute the whole board
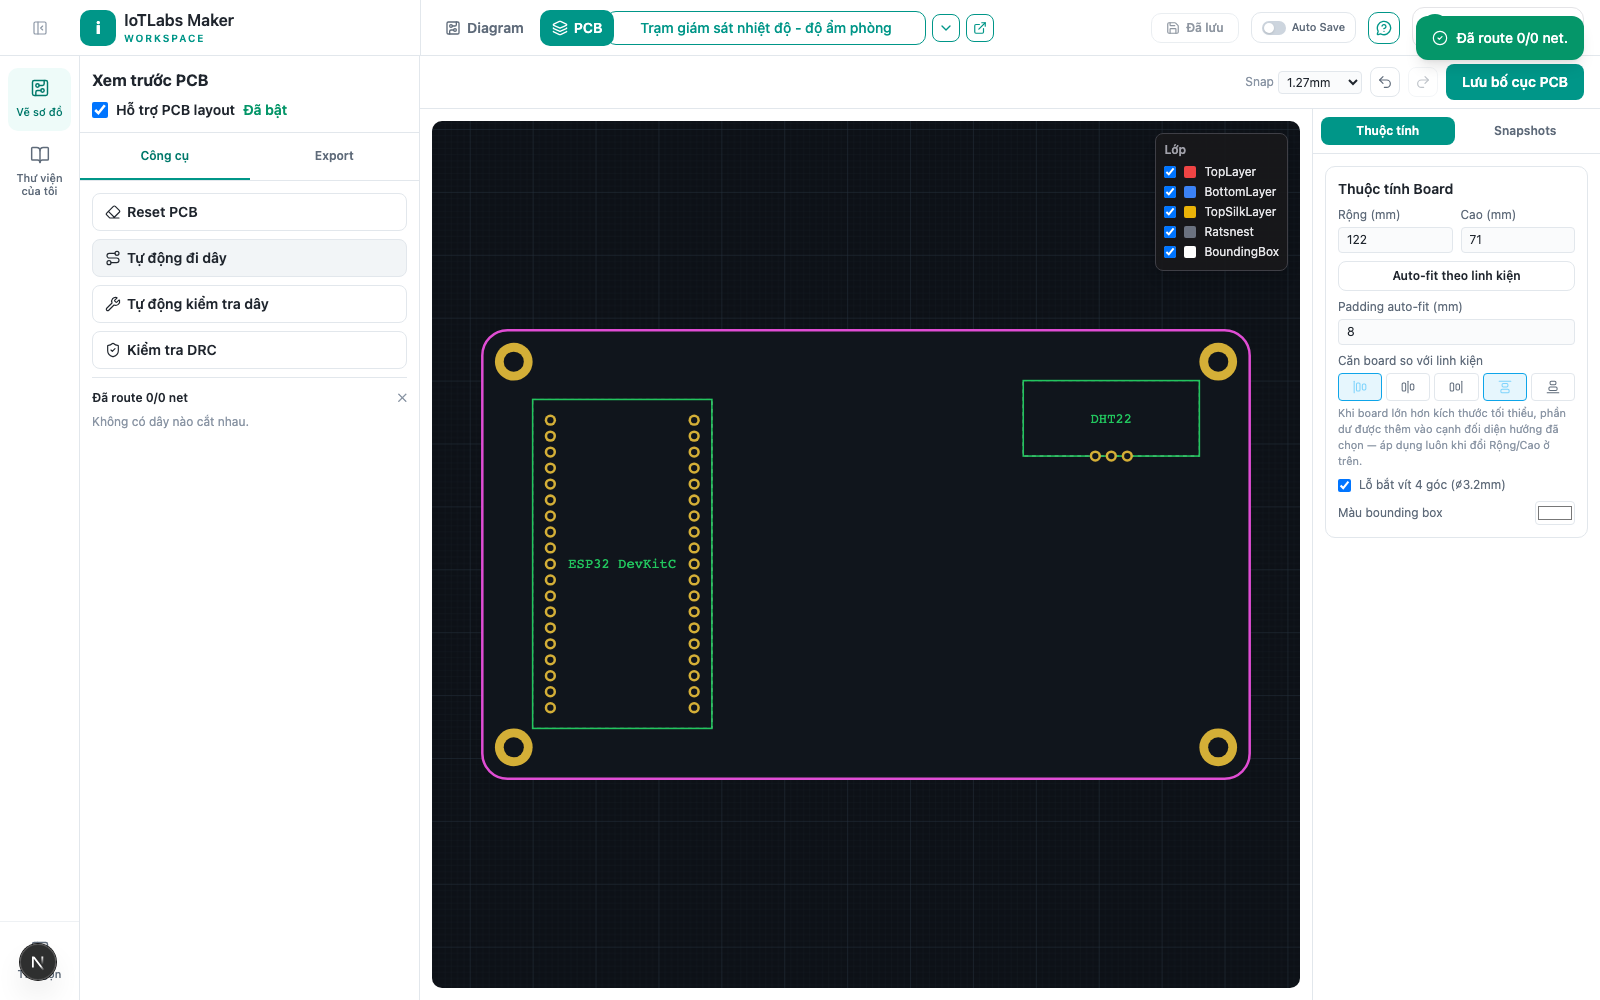
- In the left panel, Tools tab, click Auto Route (while running, it changes to "Routing...").
Result: every ratsnest net is routed, the ratsnest layer becomes completely empty, and everything is converted to copper. The results panel shows "Routed X/Y nets" — if there are any crossings, it adds "— Z crossing(s)" along with a suggestion to click "Auto-Fix Errors" for details.
Note: wires you've already Reset to Straight Line or edited by hand will not be touched by Autoroute — it only routes the remaining nets.
Quick-routing between 2 modules that already share multiple nets
- Shift + click the first module, Shift + click the second module.
- Right-click on one of the 2 selected modules.
- If they share a net, the menu shows "Route Between 2 Modules (N nets)" — click it to route every shared net at once.
- If there's no shared net, the menu shows "No shared wires between these 2 modules," with no route option.
Result: every shared net is routed using the real autoroute engine (each wire follows its own path, without overlapping each other), and a toast confirms the number of nets routed. This routes existing wires — it does not create new nets in the Diagram.
Example
After enabling PCB layout for the "Room Temperature & Humidity Monitoring Station" (3 ratsnest nets between the ESP32 and DHT22), click "Auto Route" once — all 3 VCC/GND/DATA wires are immediately routed into real copper traces, and the panel reports "Routed 3/3 nets" — no need to manually drag each wire.