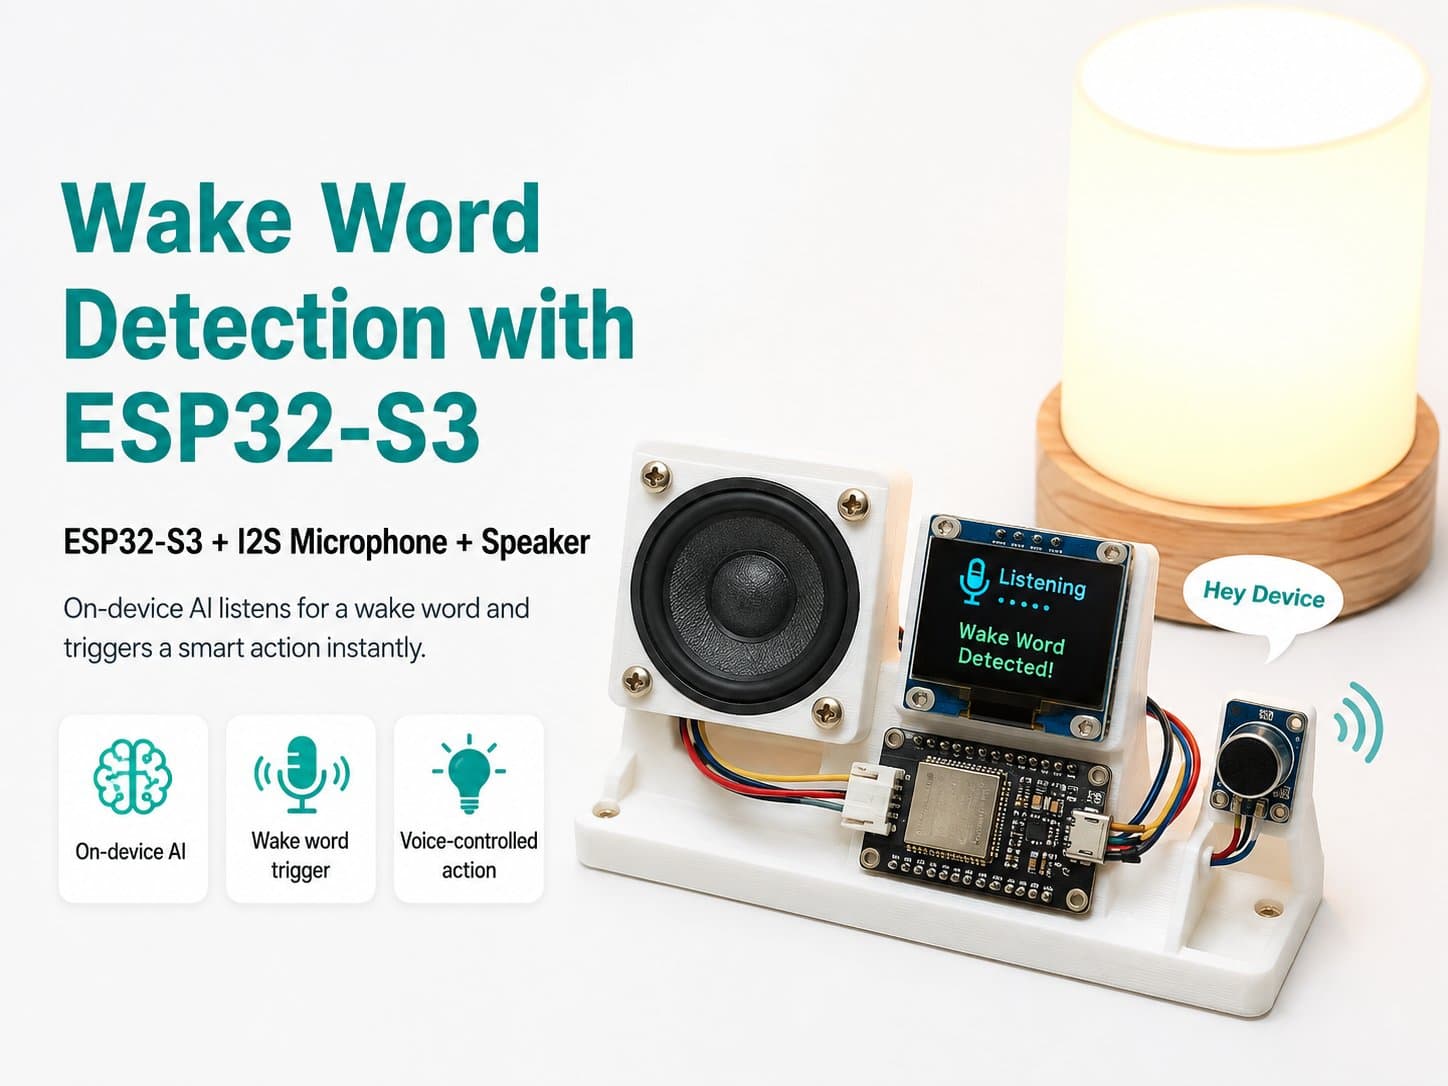
Setting Up ESP-IDF and ESP-SR for the WakeNet Project
Introduction to the ESP-IDF
The ESP-IDF (Espressif IoT Development Framework) is the official development toolkit for ESP32-based products. It provides the libraries and APIs needed to build IoT applications efficiently.
Installing the ESP-IDF
Visit the official ESP-IDF page: ESP-IDF Getting Started.
Choose your operating system (Windows, macOS, or Linux) and follow the installation instructions.
Make sure you've installed Python and required tools like Git and CMake.
Setting Up the Development Environment
After installing, you need to set the environment variables for the ESP-IDF:
export IDF_PATH=~/esp/esp-idf
source $IDF_PATH/export.sh
Installing ESP-SR (Speech Recognition)
ESP-SR is Espressif's speech-recognition library for the ESP32. To install it, add ESP-SR as a component in your ESP-IDF project. Follow these steps:
Add the ESP-SR folder to your project by copying it into the
componentsdirectory of your ESP-IDF project.Refer to the ESP-SR documentation for usage and configuration details.
Connecting the INMP441 Microphone
The INMP441 microphone uses the I2S protocol to transmit its audio signal. Connect the microphone's pins to the ESP32-S3 as follows:
VCC: connect to 3.3V (check your specific module's voltage before connecting)
GND: connect to GND
SCK: connect to GPIO 14 (or another I2S SCK-capable pin — check the datasheet for pin capability)
WS: connect to GPIO 15 (or another I2S WS-capable pin — check the datasheet for pin capability)
SD: connect to GPIO 32 (or another I2S SD-capable pin — check the datasheet for pin capability)
Note: make sure you've set the correct GPIO pins according to the ESP32-S3's pinout.
Building and Flashing the Program
To build and flash the program onto the ESP32-S3, use the following command:
idf.py -p COM3 flash
Replace COM3 with your serial port (check your system for the exact port).