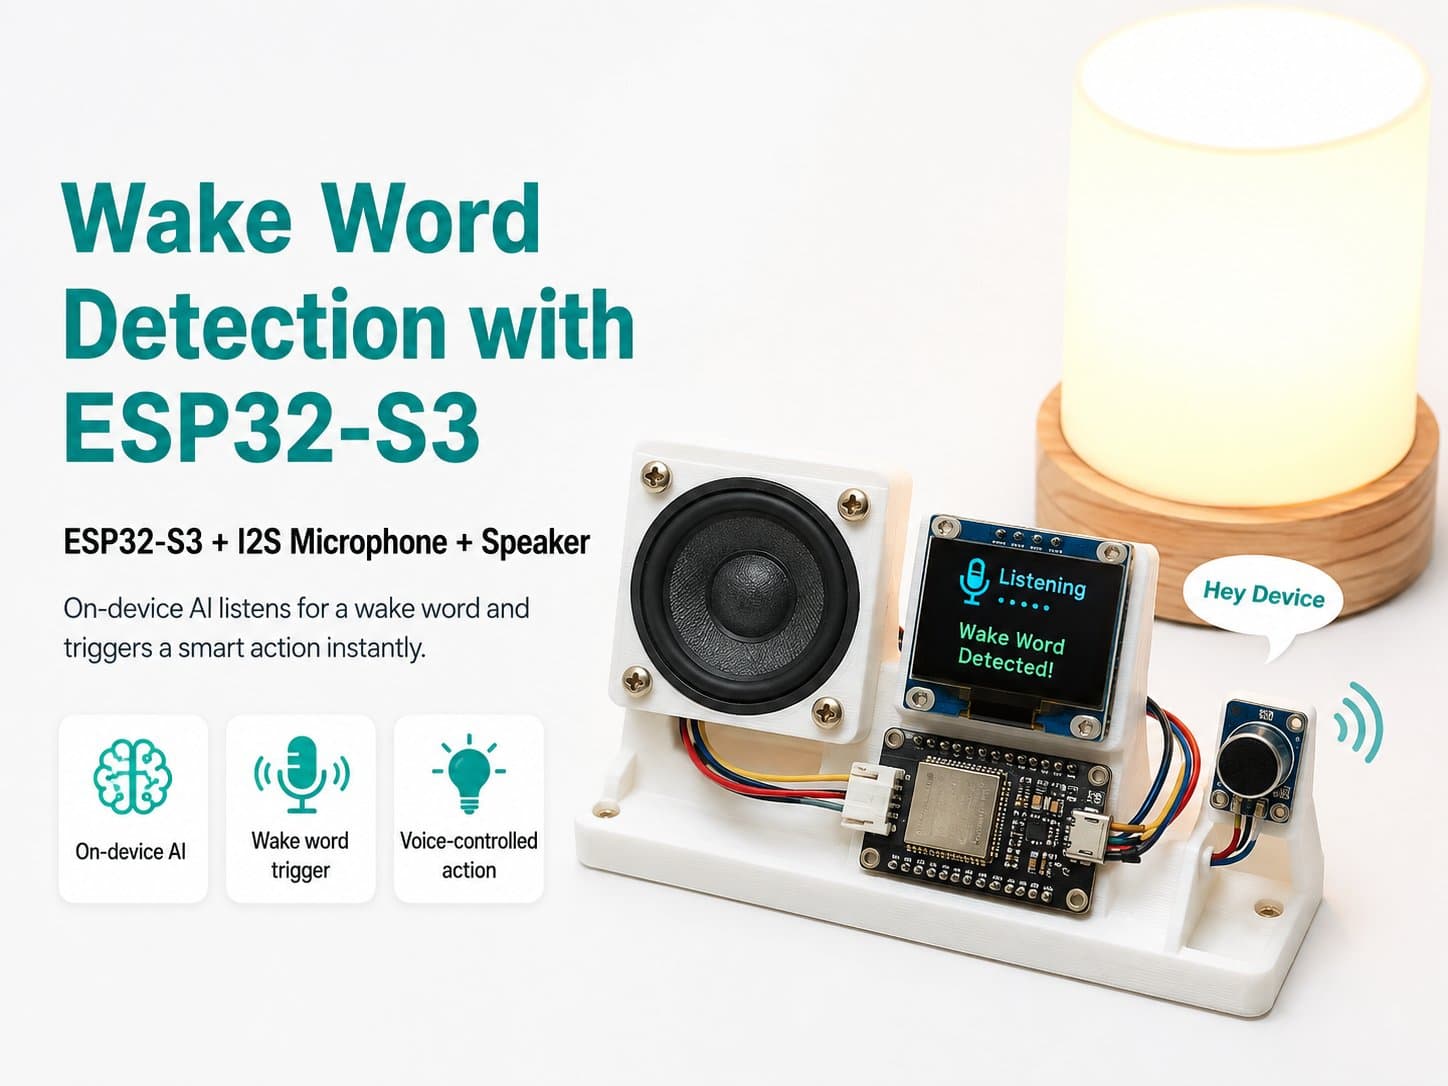
Testing, Debugging, and Extending Wake Word Detection with ESP32-S3
1. Setting Up the Development Environment
Before starting, you need to set up the ESP32-S3 development environment. To implement Wake Word Detection, use the ESP-IDF, since WakeNet/ESP-SR is only officially supported in that environment.
2. Hardware Wiring
Connect the INMP441 microphone to the ESP32-S3 over the I2S protocol. Below is the wiring diagram:
INMP441 VCC -> ESP32 3.3V
INMP441 GND -> ESP32 GND
INMP441 SCK -> ESP32 GPIO (the BCLK pin, needs configuring)
INMP441 WS -> ESP32 GPIO (the LRCK pin, needs configuring)
INMP441 SD -> ESP32 GPIO (the Data pin, needs configuring)
3. Implementing the Code
To implement Wake Word Detection, you need the ESP-IDF with ESP-SR. Below is sample code for initializing I2S:
#include
#include

void setup() {
    Serial.begin(115200);
    I2S.begin(I2S_PHILIPS_MODE, 16000, I2S_BITS_PER_SAMPLE_16BIT); // Cần kiểm tra API I2S cho ESP-IDF
}

void loop() {
    // Thực hiện các thao tác với I2S
}
4. Testing and Debugging
During development, you need to test the microphone's sensitivity and the wake-word detection accuracy. Use the Serial Monitor to watch for messages and errors. Make sure the input audio is loud and clear enough.
Tip: place the microphone close to the sound source to improve accuracy.
5. Extending Functionality
You can extend the device's functionality by adding different response actions for each wake word. Use libraries like WiFi.h to connect to the Internet and perform remote tasks.
6. Optimizing Performance
To optimize performance, adjust parameters like the sample rate. Note that the INMP441's sensitivity can't be changed in software; only the I2S sample rate and gain are adjustable. Refer to the INMP441 datasheet for more technical details.