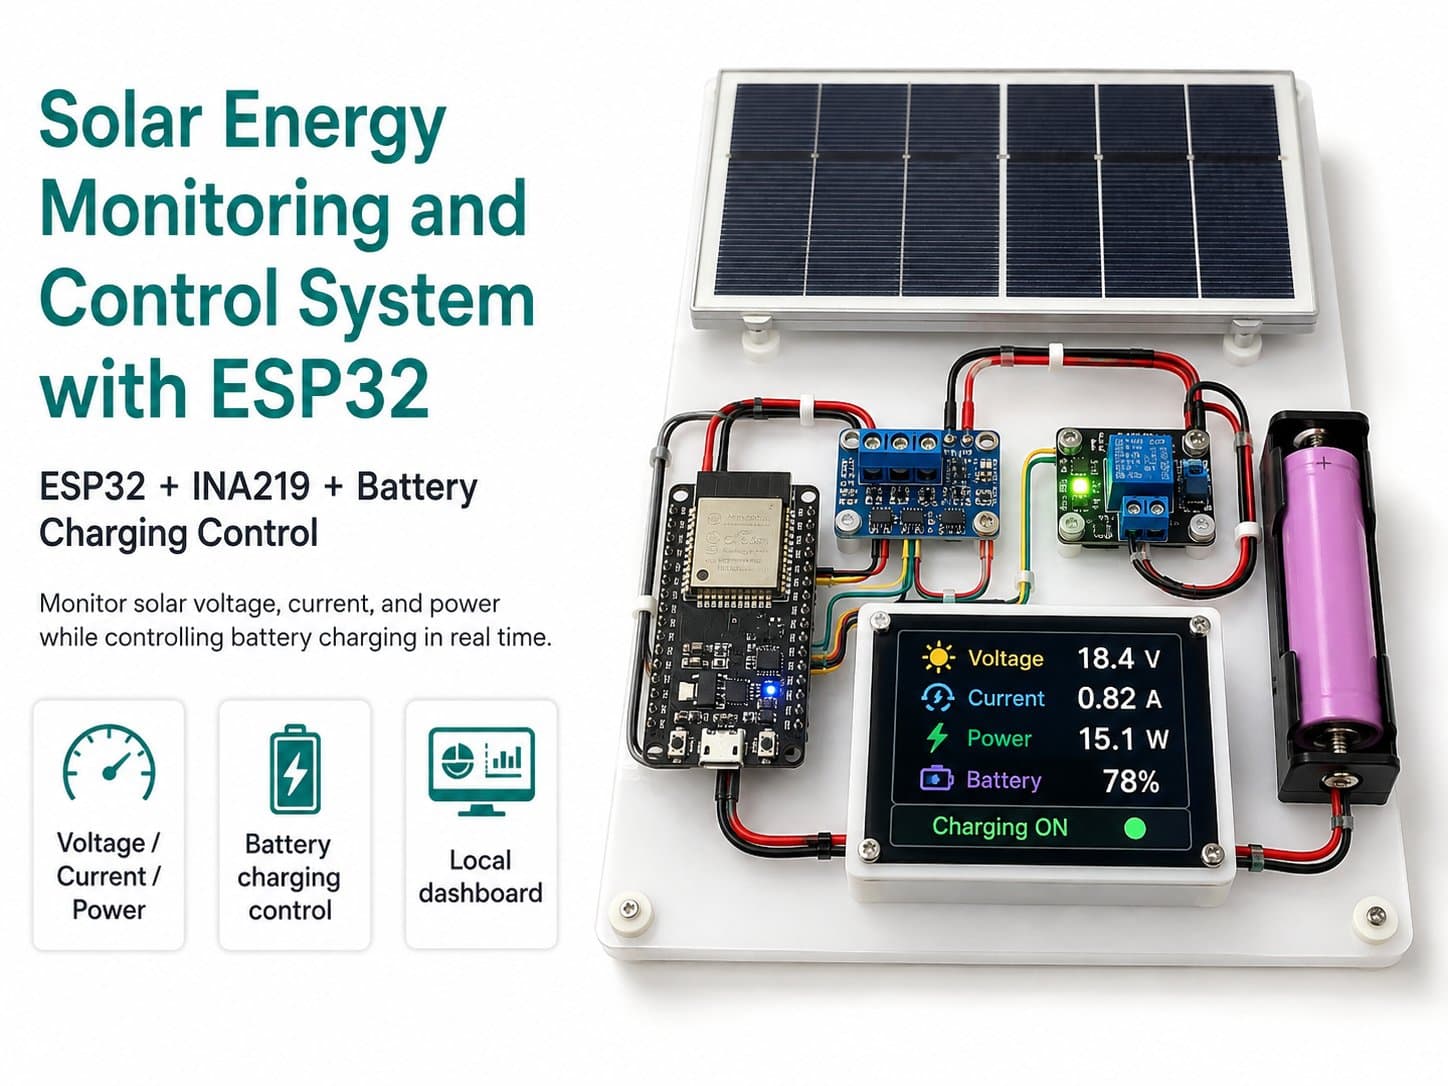
Part 2: Preparing Components with the Right Specs
Choose the ESP32, panel, charge controller, storage battery, INA219, buck converter, relay/MOSFET, and voltage divider correctly within the low-voltage DC scope.
Part 2: Preparing Components with the Right Specs
Before wiring the circuit, you need to choose components matching the correct voltage range, current, and battery type. This step matters a great deal because a solar energy system has a storage battery — choosing the wrong charge controller or reversing polarity can overheat wires, damage a module, or create a hazard.
Recommended Components List
| Component | Technical Requirement | Safety Note |
|---|---|---|
| ESP32 DevKit | WiFi-enabled, 3.3V logic | Never feed battery voltage directly into 3V3 or a GPIO pin. |
| Solar panel | 6V, 9V, or 12V for a learning model | Do not use a high-voltage PV string in this lesson. |
| Solar charge controller | Matched to the battery type and voltage | Never charge a lithium battery directly from a panel without a matching charge circuit. |
| Storage battery | With a BMS or protection circuit | Do not use an unprotected bare battery for beginners. |
| INA219 | I2C interface, bus voltage within the module's limit | Check the maximum current per the actual module's shunt. |
| 5V buck converter | Output current sufficient for the ESP32 | Measure the 5V output before plugging in the ESP32. |
| Relay or MOSFET module | Current rating higher than the load current | Never drive the load directly from a GPIO. |
| 100kΩ and 22kΩ resistors | Used as the battery-measurement voltage divider | The voltage at GPIO34 must stay below 3.3V. |
Choosing the DC Load
The DC load should be a small DC LED light, a small DC fan, or a low-current test module. For a load like a motor, pump, or fan, check the startup current, since inrush current can exceed the steady-state running current.
⚠️ The relay or MOSFET module's current rating must exceed the actual load current. Add a DC fuse on the load-supply line to reduce risk in case of a short circuit.
Why a Buck Converter Is Needed
The ESP32 needs a stable power source. If the storage battery is 6V, 9V, or 12V, step it down to 5V with a buck converter before feeding it to the ESP32's 5V pin or USB port. Never feed 12V directly into the 5V, 3V3, or a GPIO pin.
Why a Voltage Divider Is Needed
The ESP32's ADC only reads a low voltage range. So, the battery voltage must be divided down before reaching GPIO34. With R1 = 100kΩ and R2 = 22kΩ, the divider ratio is approximately 5.545.
Battery Voltage = ADC Voltage × (R1 + R2) / R2
Battery Voltage ≈ ADC Voltage × 5.545