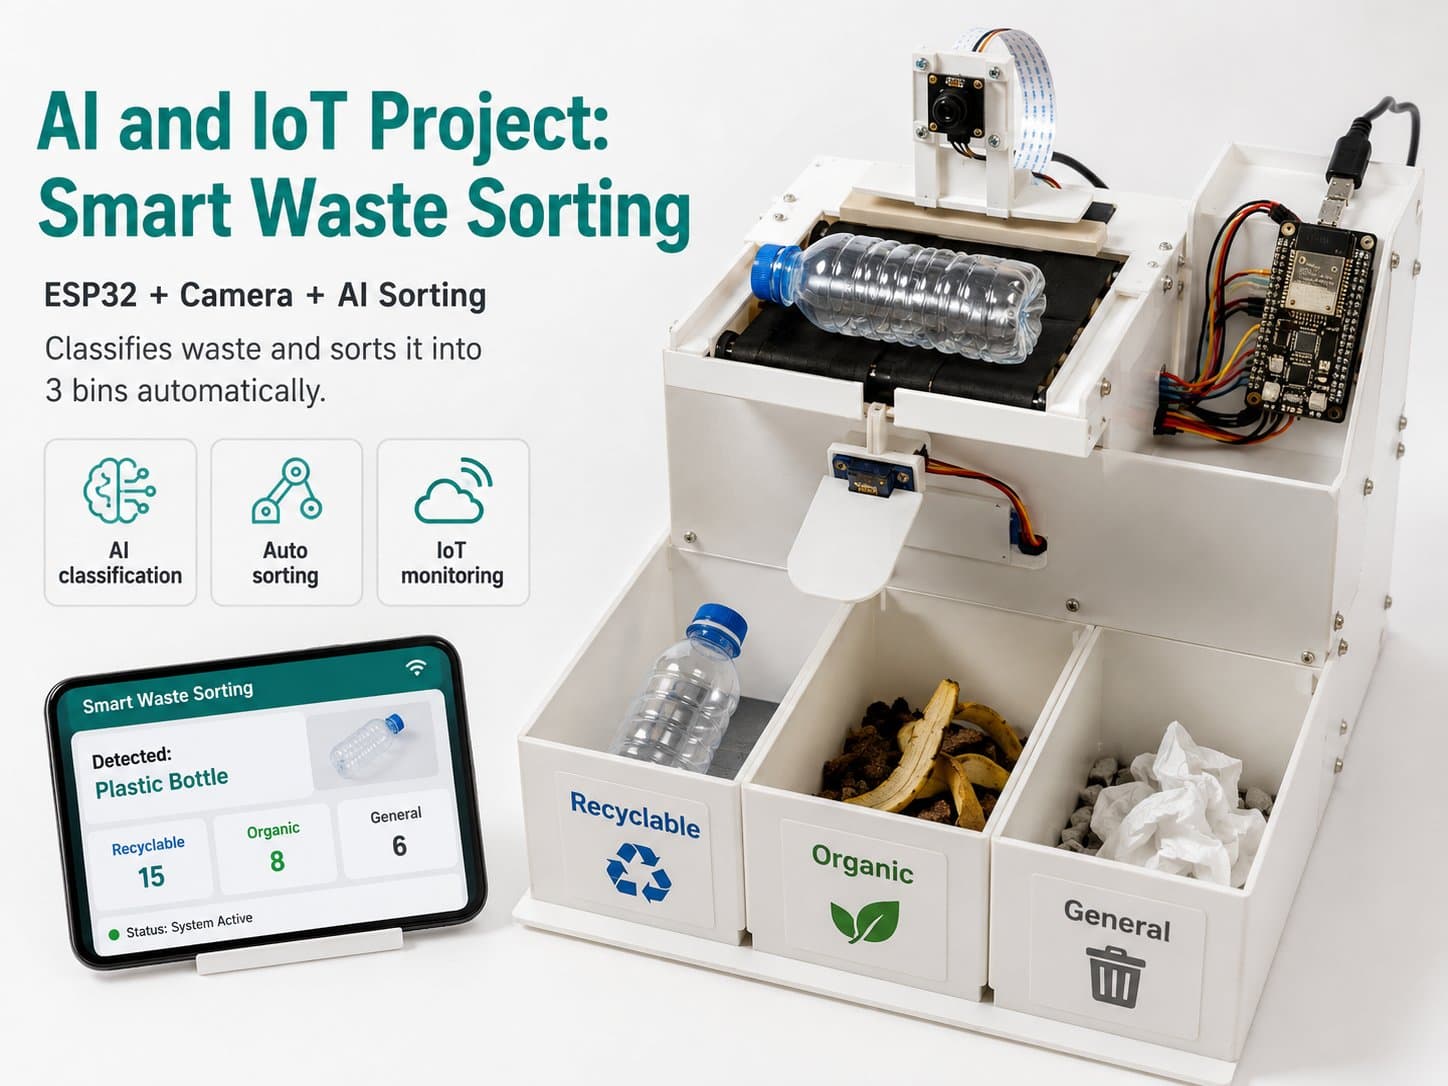
Part 4: Building the Waste Recognition System
1. Connecting the camera to the Raspberry Pi; 2. Writing Python code to capture images; 3. Integrating the AI model into the Raspberry Pi; 4. Setting up the sensors and programming recognition; 5. Combining sensors to increase reliability; 6. Programming the sorting decision.
Part 4: Building the Waste Recognition System
1. Connecting the Camera to the Raspberry Pi
To connect a camera to the Raspberry Pi, you can use a Raspberry Pi Camera Module or a USB camera. For the Raspberry Pi Camera Module, connect it to the CSI port on the Raspberry Pi. On the Raspberry Pi 5, you need to enable the camera via raspi-config and install libcamera.
2. Writing Python Code to Capture Images
Use the libcamera or opencv library to capture images from the camera. Below is sample code using opencv:
import cv2

cap = cv2.VideoCapture(0)
ret, frame = cap.read()
cv2.imwrite('image.jpg', frame)
cap.release()
3. Integrating the AI Model into the Raspberry Pi
Use TensorFlow Lite to integrate the AI model. Make sure the model has been converted to .tflite format. Before feeding data into the model, preprocess the input image — resizing, converting dtype, and normalizing. Below is sample code to load and run the model:
import tensorflow as tf
import cv2

# Đọc và xử lý ảnh
image = cv2.imread('image.jpg')
image = cv2.resize(image, (224, 224))  # Resize theo yêu cầu của mô hình
image_data = image.astype('float32') / 255.0  # Normalize

interpreter = tf.lite.Interpreter(model_path='model.tflite')
interpreter.allocate_tensors()
input_details = interpreter.get_input_details()
output_details = interpreter.get_output_details()

# Chạy mô hình
interpreter.set_tensor(input_details[0]['index'], image_data)
interpreter.invoke()
output_data = interpreter.get_tensor(output_details[0]['index'])
4. Setting Up the Sensors and Programming Recognition
Set up the weight sensor (Load cell + HX711) and the metal sensor (inductive proximity sensor) per the wiring diagram. Note that many metal sensors need 6-36V power and can't be powered directly from the Raspberry Pi's 3.3V/5V GPIO. Use an opto-isolator or relay circuit to protect the Raspberry Pi. Use the HX711 library to read data from the weight sensor:
from hx711 import HX711

hx = HX711(dout=5, pd_sck=6)  # Thay đổi chân GPIO theo kết nối
hx.set_reference_unit(1)
hx.reset()
hx.tare()

weight = hx.get_weight(5)
print(weight)
Check the HX711's signal level and use a level shifter if needed when connecting to GPIO.
5. Combining Sensors to Increase Reliability
Use sensor data to verify the AI model's prediction. Combine the signals to make a more accurate decision, as described in section 5.2 of the project.
6. Programming the Sorting Decision
Use conditional logic to decide how to sort waste based on AI and sensor data. Below is sample code:
if confidence >= 0.85 and metal_sensor == True:
    classify_as = 'metal'
elif 0.65 <= confidence < 0.85:
    classify_as = 'check sensor'
else:
    classify_as = 'unknown'
Warning: make sure to test every connection and every piece of code before operating the system, to avoid damage.