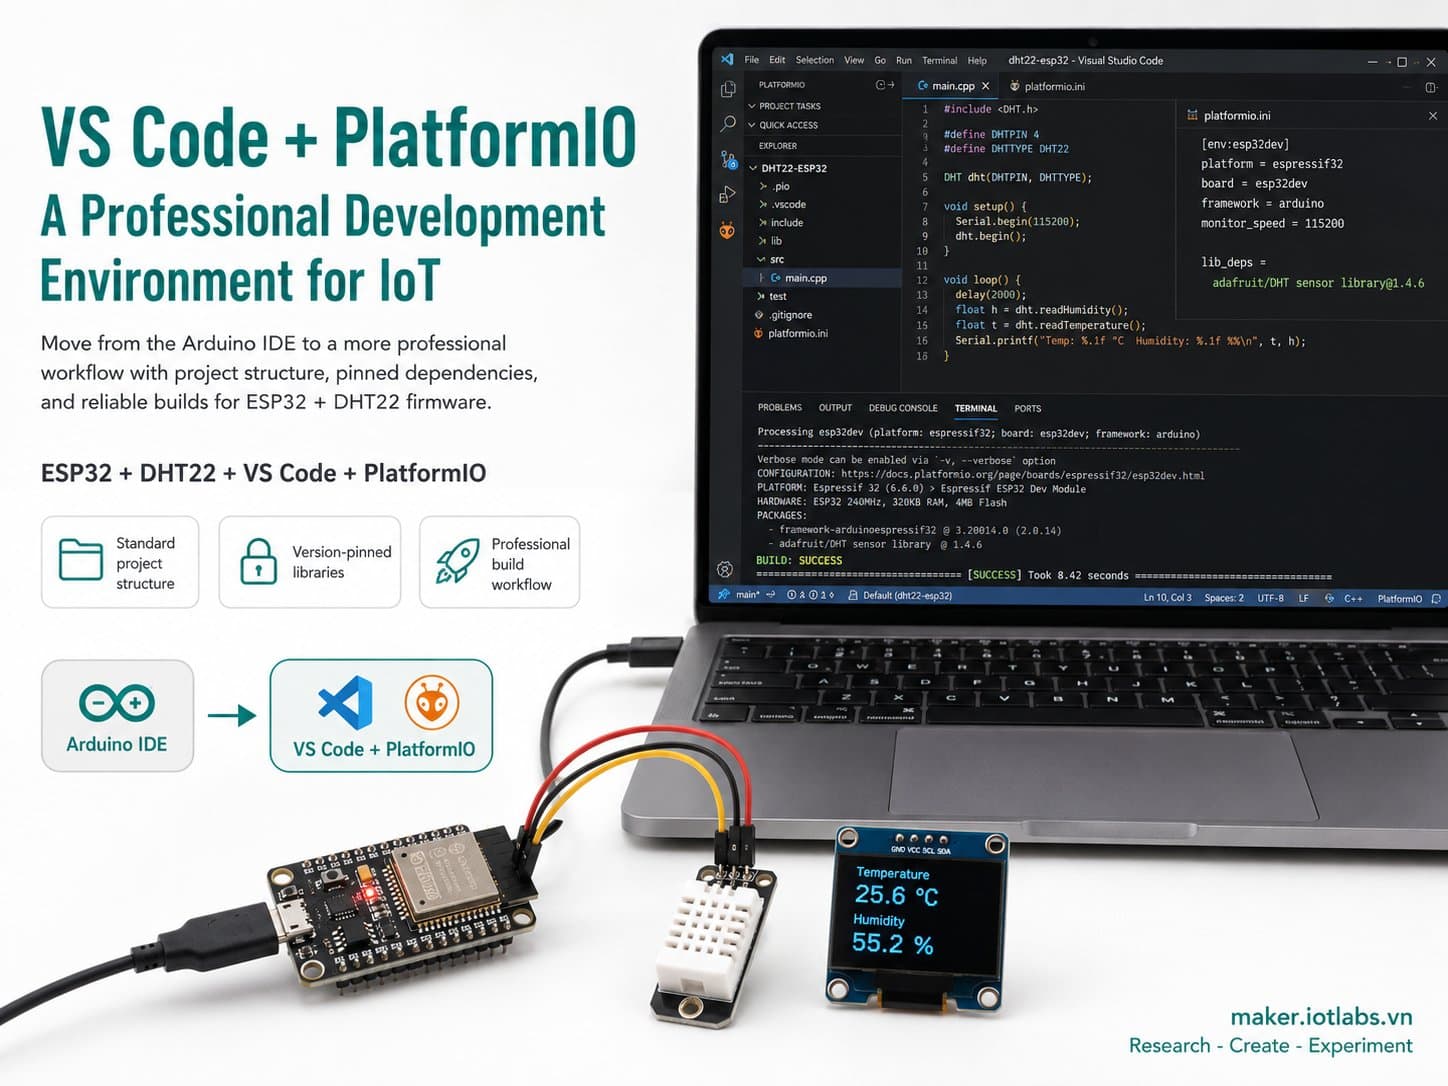
VS Code + PlatformIO: A Professional Development Environment for IoT
Moving from the Arduino IDE to VS Code + PlatformIO: understanding the platformio.ini/src/lib project structure, building the same DHT22 temperature/humidity firmware on ESP32, and why professionals reach for PlatformIO on real IoT projects.
The Arduino IDE is easy to get started with, but as an IoT project grows — more files, more libraries, more boards — you'll want a more structured development environment. This guide walks through installing VS Code + PlatformIO, understanding the standard project layout (platformio.ini, src/, lib/, include/), and rebuilding the same DHT22 sensor firmware on ESP32 using PlatformIO instead of the Arduino IDE.
Detailed guide
Moving from the Arduino IDE to VS Code + PlatformIO: the standard project structure, version-pinned dependencies, and building the same DHT22 firmware on ESP32 through a more professional workflow.
1. Introduction
The Arduino IDE is easy to get started with, but as an IoT project grows — more files, more libraries, more boards — you'll want a more structured development environment. VS Code paired with the PlatformIO extension is a popular choice among professionals: each project gets its own platformio.ini config file, libraries are declared and version-pinned right inside the project (independent of whatever's installed on your machine), and you can build for multiple boards at once. This guide walks through installing VS Code + PlatformIO, understanding the standard project layout, and rebuilding the same DHT22 sensor firmware on ESP32 — the same circuit, the same code logic as with the Arduino IDE, but through a more professional workflow.
2. Components Needed
Component | Qty | Reference Price |
|---|---|---|
ESP32 DevKit V4 (ESP32-WROOM-32) | 1 | ~75,000 - 120,000₫ |
DHT22 (AM2302) sensor | 1 | ~45,000 - 70,000₫ |
Female-to-male jumper wires | 3 | ~5,000₫ |
3. Wiring Diagram
DHT22 | ESP32 DevKit V4 |
|---|---|
VCC | 3V3 |
GND | GND |
DATA | GPIO4 |
Note: power the DHT22 with 3.3V (not 5V), since its DATA pin talks directly to the ESP32's 3.3V GPIO — powering it at 5V would push the DATA signal above the GPIO's tolerance. Most DHT22 breakout modules already include a pull-up resistor on the DATA pin.
4. Installing VS Code + PlatformIO
Installation steps:
Install Visual Studio Code.
Open the Extensions tab (Ctrl+Shift+X), search for "PlatformIO IDE", and install it. PlatformIO will automatically download the ESP32 toolchain the first time it runs.
Choose "New Project" in PlatformIO Home, set the board to "Espressif ESP32 Dev Module" and the framework to "Arduino".
PlatformIO generates a standard folder structure — this is the biggest difference from the Arduino IDE.
my-esp32-project/
├── platformio.ini      # board, framework, and library config
├── src/
│   └── main.cpp         # main code (like .ino, but standard C++)
├── include/              # shared headers (config, sample secrets, etc.)
├── lib/                  # project-local libraries (not published to the registry)
└── .pio/                 # build cache — do NOT commit to git
5. Example #1 — platformio.ini
All the board configuration, Serial Monitor speed, and required libraries live in a single file:
; platformio.ini - cau hinh project PlatformIO cho ESP32 DevKit V4 + DHT22
[env:esp32dev]
platform = espressif32
board = esp32dev
framework = arduino

monitor_speed = 115200
upload_speed = 921600

; lib_deps: khai bao thu vien + version ngay trong project,
; khong phu thuoc vao nhung gi da cai san trong Arduino IDE cua may ban.
lib_deps =
    adafruit/DHT sensor library@^1.4.4
    adafruit/Adafruit Unified Sensor@^1.1.9
Unlike the Arduino IDE (where libraries are installed globally and everyone shares the same version), lib_deps declares libraries per project — clone this project onto another machine, run a build, and PlatformIO will automatically fetch the right library at the right version.
6. Example #2 — src/main.cpp
Firmware that reads the DHT22 every 2 seconds and prints to the Serial Monitor, written in standard C++ (not the Arduino IDE's special .ino syntax):
// src/main.cpp - firmware doc nhiet do/do am DHT22 tren ESP32
// Duoc build bang PlatformIO (khong phai Arduino IDE) - xem platformio.ini cung thu muc.
#include <Arduino.h>
#include <DHT.h>

#define DHT_PIN 4
#define DHT_TYPE DHT22

DHT dht(DHT_PIN, DHT_TYPE);

const unsigned long READ_INTERVAL_MS = 2000; // DHT22 lay mau toi da 1 lan / 2s
unsigned long lastReadAt = 0;

void setup() {
  Serial.begin(115200);
  delay(300);
  Serial.println();
  Serial.println(F("=== PlatformIO + ESP32 + DHT22 ==="));
  Serial.println(F("Build system: PlatformIO (src/main.cpp)"));
  dht.begin();
}

void loop() {
  unsigned long now = millis();
  if (now - lastReadAt < READ_INTERVAL_MS) {
    return; // chua den chu ky doc tiep theo, khong block bang delay()
  }
  lastReadAt = now;

  float humidity = dht.readHumidity();
  float tempC = dht.readTemperature();

  if (isnan(humidity) || isnan(tempC)) {
    Serial.println(F("[WARN] Doc DHT22 that bai (mat ket noi hoac nhieu tin hieu)"));
    return;
  }

  Serial.print(F("Nhiet do: "));
  Serial.print(tempC);
  Serial.print(F(" C  |  Do am: "));
  Serial.print(humidity);
  Serial.println(F(" %"));
}
Notice the #include <Arduino.h> line at the top — the Arduino IDE silently adds this for .ino files, but a standard .cpp file in PlatformIO needs it declared explicitly.
7. Example #3 — Building and Flashing with the PlatformIO CLI
A practical benefit: you can build, check for compile errors, and flash firmware straight from the terminal — handy for CI integration or automation scripts, something the Arduino IDE doesn't support well:
# Build only (compile, don't upload)
pio run

# Upload firmware over USB
pio run --target upload

# Open the Serial Monitor at the speed set in platformio.ini
pio device monitor

# Do all three steps in one command
pio run --target upload --target monitor
8. Common Issues
Issue | Cause | Fix |
|---|---|---|
| Missing or misspelled | Run |
COM/USB port not found when uploading | The CP2102/CH340 driver isn't installed, or the board is in the wrong boot mode | Install the matching USB-UART driver; hold the BOOT button when starting the upload if needed |
|
| Add the exact line |
The first build takes a very long time | PlatformIO is downloading the ESP32 toolchain and libraries for the first time | This is normal — only the first build is slow; later builds use the cache |
9. Summary
PlatformIO doesn't change the firmware logic — the DHT22-reading firmware here is identical to the Arduino IDE version — but it changes how you organize and reproduce the project: board/library configuration lives in a text file tracked by git, builds and flashes can run from the terminal or CI, and each project is independent of whatever's installed on your machine.
For a small, single-file IoT project the difference isn't obvious, but as a project grows — more boards, more libraries, more people working on it — this is the tool that means you never again have to remember "which library version did I install on my machine."