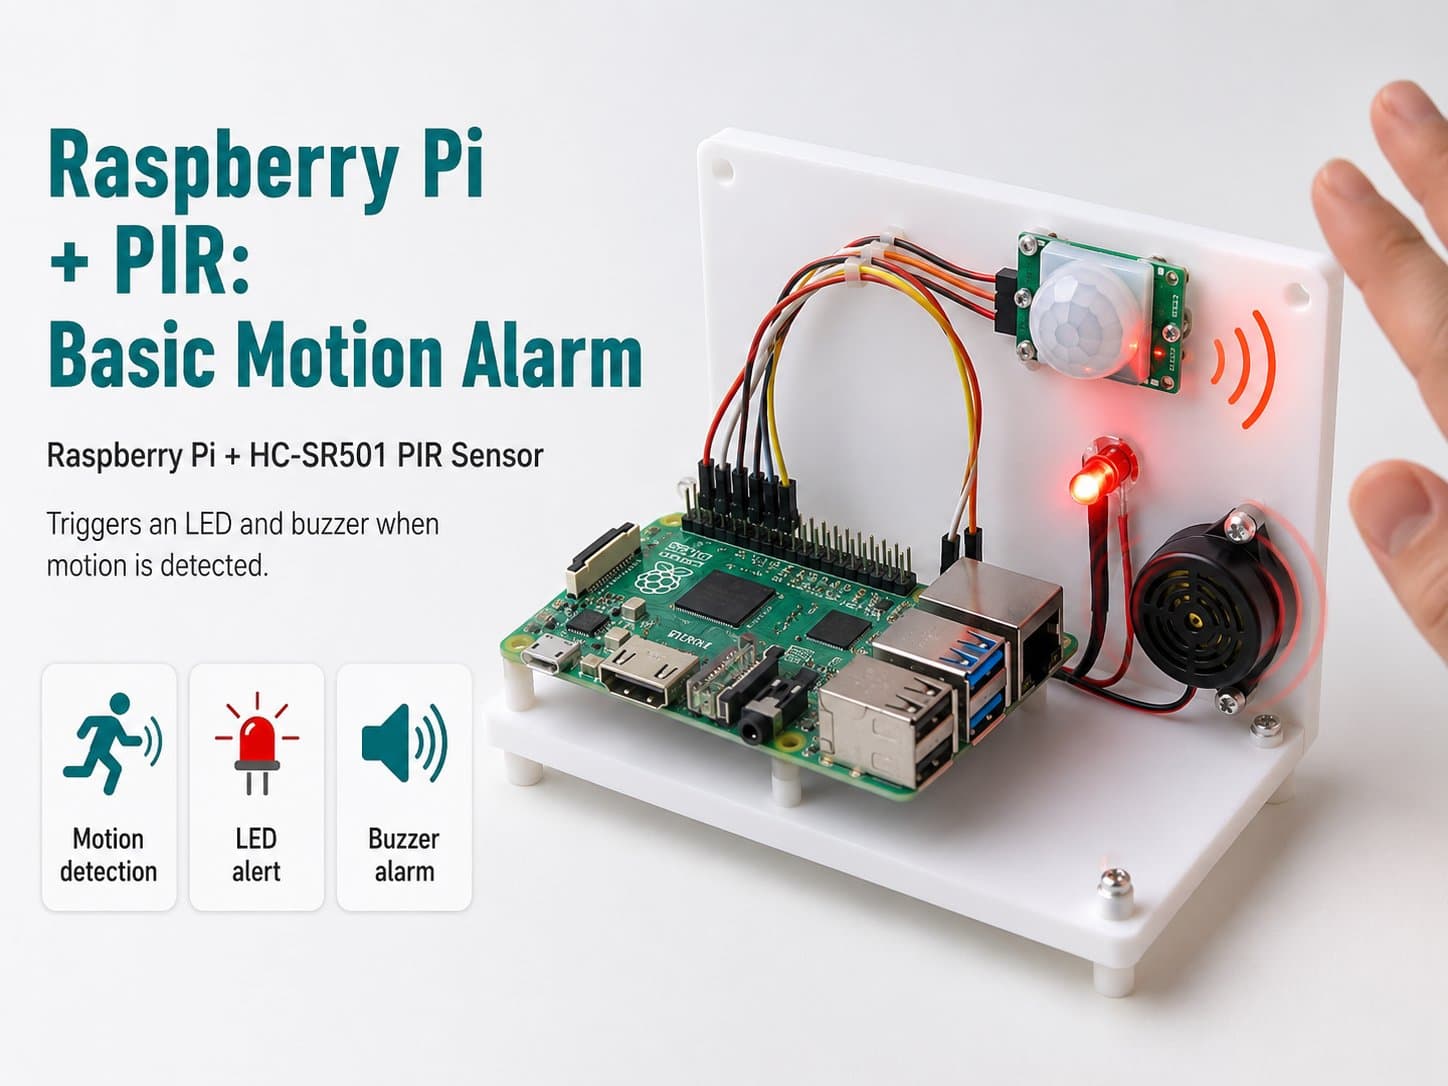
Raspberry Pi + PIR: Basic Motion Alarm
Build a basic motion alarm on Raspberry Pi using an HC-SR501 PIR sensor, triggering an LED and buzzer when a person or object moves through its detection zone.
The second GPIO intro project: using a passive infrared (PIR) sensor (HC-SR501) to detect motion and trigger an LED + buzzer alarm on Raspberry Pi.
You'll learn how to read a digital signal from a PIR sensor, handle it with both polling and GPIO interrupts (event detection), and build an alarm system with an arm/disarm schedule just like a real home security device.
Detailed guide
Build a motion alarm with a PIR sensor, LED, and buzzer on a Raspberry Pi — learn both GPIO polling and interrupt-based event detection, then extend it into a scheduled alarm system with JSON telemetry.
1. Introduction
PIR (Passive Infrared) is the cheapest and most common type of motion sensor in DIY alarm projects: it detects a change in infrared radiation when a warm person/object passes through its sensing zone (~110°, 3–7m). The HC-SR501 sensor outputs a simple digital signal — HIGH when motion is detected, LOW when not — so it's very easy to read via GPIO.
In this project, you'll pair the PIR with an LED and a buzzer to build a basic motion alarm, while learning two common GPIO signal-handling approaches: polling (a loop that continuously checks the pin's state) and interrupt/event detection (code only runs when an event occurs, which is far more CPU-efficient).
2. Components Needed
| Component | Qty | Reference Price |
|---|---|---|
| Raspberry Pi 4 Model B (with Raspberry Pi OS installed) | 1 | ~1,500,000₫ |
| PIR Sensor HC-SR501 | 1 | ~20,000₫ |
| Active Buzzer | 1 | ~10,000₫ |
| Single LED Module (with onboard current-limiting resistor) | 1 | ~5,000₫ |
| Breadboard + jumper wires | 1 set | ~30,000₫ |
3. Wiring Diagram
| Module | Raspberry Pi 4 |
|---|---|
| PIR VCC | 5V (Pin 2) |
| PIR GND | GND |
| PIR OUT | GPIO17 (Pin 11) — 3.3V logic output, connect directly, no voltage divider needed |
| Buzzer VCC | 3V3 (Pin 1) |
| Buzzer GND | GND |
| Buzzer IO | GPIO27 (Pin 13) |
| LED VCC | 3V3 (Pin 1) |
| LED GND | GND |
| LED IN | GPIO22 (Pin 15) |
Important installation note:
The HC-SR501 PIR sensor needs a "warm-up" period of about 30–60 seconds after power-up before its readings become accurate — during this time it may trigger false alarms.
Always wait out this period before trusting the first reading. The onboard potentiometers let you adjust sensitivity (Sx) and how long the output stays HIGH (Tx) — turn clockwise to increase sensitivity/hold time.
4. Example #1 — Basic Alarm (Polling)
The simplest loop: continuously read the PIR pin's state, turn on the LED + buzzer when motion is detected, and off when it stops.
#!/usr/bin/env python3
"""
Raspberry Pi + PIR HC-SR501 - Bao dong chuyen dong co ban (LED + Buzzer)
Wiring:
  PIR OUT    -> GPIO17
  Buzzer IO  -> GPIO27
  LED IN     -> GPIO22
"""
import RPi.GPIO as GPIO
import time

PIR_PIN = 17
BUZZER_PIN = 27
LED_PIN = 22


def setup():
    GPIO.setmode(GPIO.BCM)
    GPIO.setup(PIR_PIN, GPIO.IN)
    GPIO.setup(BUZZER_PIN, GPIO.OUT)
    GPIO.setup(LED_PIN, GPIO.OUT)
    GPIO.output(BUZZER_PIN, False)
    GPIO.output(LED_PIN, False)
    print("[BOOT] PIR motion alarm ready. Khoi dong on dinh cam bien...")
    time.sleep(2)  # rut gon cho demo; PIR that can 30-60s de on dinh


def main():
    setup()
    try:
        while True:
            motion = GPIO.input(PIR_PIN)
            if motion:
                print("[ALERT] Phat hien chuyen dong!")
                GPIO.output(LED_PIN, True)
                GPIO.output(BUZZER_PIN, True)
            else:
                GPIO.output(LED_PIN, False)
                GPIO.output(BUZZER_PIN, False)
            time.sleep(0.2)
    except KeyboardInterrupt:
        print("\n[EXIT] Dung boi nguoi dung")
    finally:
        GPIO.cleanup()


if __name__ == "__main__":
    main()
5. Example #2 — Handling It via GPIO Interrupt (Event Detection) + Cooldown
Instead of continuous polling (which wastes CPU), this version uses GPIO.add_event_detect() so the callback only fires on a rising edge on the PIR pin. It adds a cooldown mechanism to avoid a flood of alarms during sustained motion.
#!/usr/bin/env python3
"""
Raspberry Pi + PIR - Bao dong bang GPIO interrupt (event detection) + cooldown
"""
import RPi.GPIO as GPIO
import time

PIR_PIN = 17
BUZZER_PIN = 27
LED_PIN = 22
ALARM_DURATION_S = 3.0
COOLDOWN_S = 1.0

last_trigger = 0.0


def motion_callback(channel):
    global last_trigger
    now = time.time()
    if now - last_trigger < COOLDOWN_S:
        return  # bo qua trigger lap trong thoi gian cooldown
    last_trigger = now
    print(f"[ALERT] Chuyen dong luc {time.strftime('%H:%M:%S')}")
    GPIO.output(LED_PIN, True)
    GPIO.output(BUZZER_PIN, True)
    time.sleep(ALARM_DURATION_S)
    GPIO.output(LED_PIN, False)
    GPIO.output(BUZZER_PIN, False)


def setup():
    GPIO.setmode(GPIO.BCM)
    GPIO.setup(PIR_PIN, GPIO.IN)
    GPIO.setup(BUZZER_PIN, GPIO.OUT)
    GPIO.setup(LED_PIN, GPIO.OUT)
    GPIO.output(BUZZER_PIN, False)
    GPIO.output(LED_PIN, False)
    GPIO.add_event_detect(PIR_PIN, GPIO.RISING, callback=motion_callback, bouncetime=200)
    print("[BOOT] PIR interrupt-based alarm ready (event detection)")


def main():
    setup()
    try:
        while True:
            time.sleep(1)  # main loop ranh, xu ly hoan toan qua callback
    except KeyboardInterrupt:
        print("\n[EXIT] Dung boi nguoi dung")
    finally:
        GPIO.cleanup()


if __name__ == "__main__":
    main()
6. Example #3 — The Real Application: a System with an Arm/Disarm Schedule + Telemetry
Modeled on a real home security device: it only sounds the alarm during a set time window (e.g. at night, 10 PM–6 AM), periodically logs JSON, and reports a "degraded" status if the PIR has produced no signal for a long stretch (a sign the sensor may be broken or disconnected).
#!/usr/bin/env python3
"""
Raspberry Pi + PIR - He thong bao dong co lich arm/disarm + telemetry JSON
Ung dung thuc te: chi bao dong trong khung gio da dat (vd ban dem),
tu ghi log JSON dinh ky, bao "degraded" neu PIR khong phan hoi qua lau.
"""
import RPi.GPIO as GPIO
import time
import json
from datetime import datetime

PIR_PIN = 17
BUZZER_PIN = 27
LED_PIN = 22
ARM_HOUR_START = 22   # 22:00
ARM_HOUR_END = 6      # 06:00
TELEMETRY_INTERVAL_S = 5.0
PIR_SILENT_TIMEOUT_S = 120.0


def is_armed(now=None):
    now = now or datetime.now()
    h = now.hour
    if ARM_HOUR_START > ARM_HOUR_END:
        return h >= ARM_HOUR_START or h < ARM_HOUR_END
    return ARM_HOUR_START <= h < ARM_HOUR_END


def setup():
    GPIO.setmode(GPIO.BCM)
    GPIO.setup(PIR_PIN, GPIO.IN)
    GPIO.setup(BUZZER_PIN, GPIO.OUT)
    GPIO.setup(LED_PIN, GPIO.OUT)
    GPIO.output(BUZZER_PIN, False)
    GPIO.output(LED_PIN, False)
    print("[BOOT] Scheduled PIR alarm service starting")
    print(f"[BOOT] Armed window: {ARM_HOUR_START}:00 -> {ARM_HOUR_END}:00")


def main():
    setup()
    last_motion_ts = time.time()
    last_telemetry = 0.0

    try:
        while True:
            armed = is_armed()
            motion = GPIO.input(PIR_PIN)
            now = time.time()

            if motion:
                last_motion_ts = now

            alarm_on = armed and motion
            GPIO.output(LED_PIN, alarm_on)
            GPIO.output(BUZZER_PIN, alarm_on)

            if now - last_telemetry >= TELEMETRY_INTERVAL_S:
                pir_silent = (now - last_motion_ts) > PIR_SILENT_TIMEOUT_S
                telemetry = {
                    "sensor": "pir_hcsr501",
                    "armed": armed,
                    "motion": bool(motion) if not pir_silent else None,
                    "status": "degraded" if pir_silent else "ok",
                }
                print(json.dumps(telemetry))
                last_telemetry = now
                if pir_silent:
                    print("[WARN] Khong co tin hieu PIR trong thoi gian dai - kiem tra cam bien")

            time.sleep(0.2)
    except KeyboardInterrupt:
        print("\n[EXIT] Dung boi nguoi dung")
    finally:
        GPIO.cleanup()


if __name__ == "__main__":
    main()
7. Common Issues
| Issue | Cause | Fix |
|---|---|---|
| The PIR keeps false-triggering right after power-up | The sensor hasn't finished its warm-up period (30–60s) | Wait at least 30–60s after power-up before trusting readings |
| The PIR doesn't detect motion even when someone walks by | The sensitivity potentiometer (Sx) is turned too low, or the subject is outside the ~110° sensing angle | Turn the Sx potentiometer clockwise to increase sensitivity; check the sensor's mounting angle |
| The buzzer/LED don't respond even though the PIR reads HIGH | Wrong GPIO pin in the code versus the wiring diagram, or missing GPIO.setup() for the OUT pin | Double-check the pin numbers in the code against the wiring table in section 3 |
| The interrupt callback fires repeatedly for a single motion event | The PIR's HIGH level jitters slightly, or debouncing is missing | Use bouncetime in add_event_detect() and add a manual cooldown as in example #2 |
| The alarm doesn't turn off during the day even though the schedule is configured | The Raspberry Pi's system clock is wrong | Sync the clock with sudo timedatectl set-ntp true or check the Internet connection for NTP |
8. Summary
This project demonstrates two core GPIO handling techniques: reading state via polling (simple, easy to understand, but CPU-hungry) and via interrupt/event detection (more efficient, suited to real applications running long-term in the background).
Combined with arm/disarm schedule logic and JSON telemetry, you now have a framework close to a real home security system. Natural next steps: send notifications via a Telegram Bot or MQTT when motion is detected, or add a camera to capture a photo when the alarm triggers.