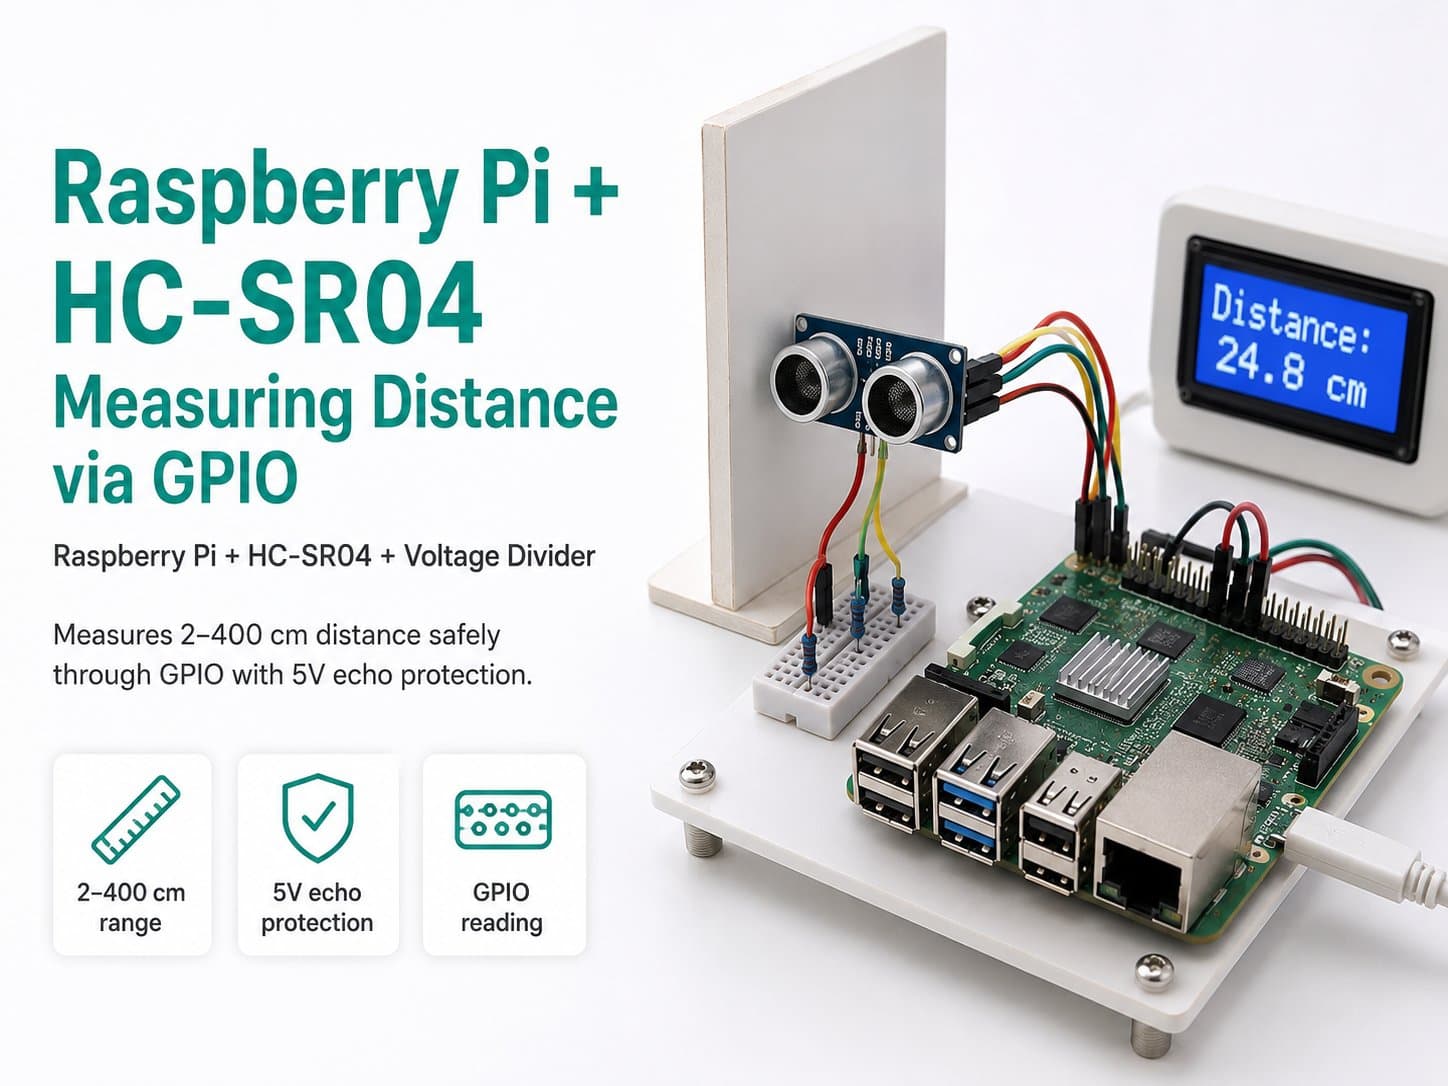
Raspberry Pi + HC-SR04: Measuring Distance via GPIO
Reads distance from 2–400cm using an HC-SR04 ultrasonic sensor over Raspberry Pi's GPIO, with a voltage divider protecting the 5V ECHO pin, using the RPi.GPIO library.
A GPIO intro project on Raspberry Pi: measuring distance with an HC-SR04 ultrasonic sensor.
You'll learn how to fire the TRIG pulse, measure the ECHO pulse width to compute distance, and — most importantly — how to protect the Raspberry Pi's 3.3V GPIO pins from the sensor's 5V ECHO signal using a resistor voltage divider, an essential skill whenever you're pairing a 5V sensor with a Raspberry Pi.
Detailed guide
Wire an HC-SR04 ultrasonic sensor to a Raspberry Pi safely with a resistor voltage divider, then build up from basic distance reading to a noise-filtered, telemetry-reporting monitoring service.
1. Introduction
The HC-SR04 ultrasonic sensor is one of the most common beginner sensors for learning GPIO on a Raspberry Pi: cheap, easy to understand the principle of, and it teaches the single most important skill when pairing peripheral sensors with a Raspberry Pi — protecting the 3.3V GPIO pins from a 5V signal.
The HC-SR04 works by emitting an ultrasonic pulse through the TRIG pin, then measuring how long it takes the reflected wave to return via the ECHO pin. Since the speed of sound in air is about 343 m/s, distance is calculated as distance = (echo_duration × 34300) / 2 (divided by 2 because the wave travels there and back).
The catch is that the HC-SR04's ECHO pin outputs a 5V signal, while every GPIO pin on the Raspberry Pi tolerates a maximum of 3.3V — feeding 5V directly into a GPIO pin can permanently damage that pin or the whole board. This article shows how to use a voltage divider made from two 10kΩ resistors to bring ECHO down to a safe level (~2.5V) before it reaches the GPIO.
2. Components Needed
| Component | Qty | Reference Price |
|---|---|---|
| Raspberry Pi 4 Model B (with Raspberry Pi OS installed) | 1 | ~1,500,000₫ |
| HC-SR04 Ultrasonic Sensor | 1 | ~15,000₫ |
| 10kΩ Resistor (for the ECHO voltage divider) | 2 | ~1,000₫ |
| Breadboard + jumper wires (male-female, male-male) | 1 set | ~30,000₫ |
3. Wiring Diagram
| HC-SR04 | Raspberry Pi 4 |
|---|---|
| VCC | 5V (Pin 2) |
| GND | GND (Pin 6) |
| TRIG | GPIO23 (Pin 16) — connect directly, no voltage divider needed since the Pi's 3.3V output exceeds TRIG's minimum HIGH threshold |
| ECHO | through a voltage divider R1 (10kΩ in series) + R2 (10kΩ to GND) → midpoint into GPIO24 (Pin 18) |
Voltage divider detail: ECHO (5V) → R1 (10kΩ) → midpoint → R2 (10kΩ) → GND. The midpoint connects to GPIO24. With R1 = R2 = 10kΩ, the midpoint voltage = 5V × R2/(R1+R2) = 5V × 0.5 = 2.5V — safely below the GPIO's 3.3V maximum, and still well above the HIGH-recognition threshold (~2V on 3.3V logic) for the Raspberry Pi to read the signal correctly.
Safety warning: Never connect the ECHO pin directly to a GPIO without the voltage divider — risk of damaging the GPIO or the entire Raspberry Pi board.
4. Example #1 — Basic Distance Measurement
A simple loop: emit a TRIG pulse, measure the width of the ECHO pulse, print the distance to the terminal. Includes timeout handling to avoid hanging when no echo is received (an object outside the 2–400cm range).
#!/usr/bin/env python3
"""
Raspberry Pi + HC-SR04 - Do khoang cach co ban qua GPIO
Board: Raspberry Pi 4 Model B
Thu vien: RPi.GPIO

Wiring:
  HC-SR04 VCC  -> RPi 5V (Pin 2)
  HC-SR04 GND  -> RPi GND
  HC-SR04 TRIG -> RPi GPIO23 (Pin 16)
  HC-SR04 ECHO -> cau phan ap 10k/10k -> RPi GPIO24 (Pin 18)
"""
import RPi.GPIO as GPIO
import time

TRIG = 23
ECHO = 24


def setup():
    GPIO.setmode(GPIO.BCM)
    GPIO.setup(TRIG, GPIO.OUT)
    GPIO.setup(ECHO, GPIO.IN)
    GPIO.output(TRIG, False)
    print("[BOOT] HC-SR04 distance sensor ready. TRIG=GPIO23 ECHO=GPIO24")
    time.sleep(0.5)


def read_distance_cm(timeout=0.04):
    GPIO.output(TRIG, True)
    time.sleep(0.00001)
    GPIO.output(TRIG, False)

    start_wait = time.time()
    pulse_start = start_wait
    while GPIO.input(ECHO) == 0:
        pulse_start = time.time()
        if pulse_start - start_wait > timeout:
            return None  # timeout - khong nhan duoc echo

    pulse_end = time.time()
    stop_wait = pulse_end
    while GPIO.input(ECHO) == 1:
        pulse_end = time.time()
        if pulse_end - stop_wait > timeout:
            return None

    pulse_duration = pulse_end - pulse_start
    distance = pulse_duration * 34300 / 2  # toc do am thanh 343 m/s
    return round(distance, 1)


def main():
    setup()
    try:
        while True:
            dist = read_distance_cm()
            if dist is None:
                print("[WARN] Khong nhan duoc echo (ngoai pham vi 2-400cm)")
            else:
                print(f"Khoang cach: {dist} cm")
            time.sleep(0.3)
    except KeyboardInterrupt:
        print("\n[EXIT] Dung boi nguoi dung")
    finally:
        GPIO.cleanup()


if __name__ == "__main__":
    main()
5. Example #2 — Noise Filtering with a Moving Average + Threshold Alert
Cheap HC-SR04 units often produce noisy readings. This version uses a moving-average window of the last 5 samples to smooth the result, while also filtering out values outside the valid physical range (2–400cm) and printing an alert when an object gets closer than a 15cm threshold.
#!/usr/bin/env python3
"""
Raspberry Pi + HC-SR04 - Loc nhieu bang trung binh truot + canh bao nguong
"""
import RPi.GPIO as GPIO
import time
from collections import deque

TRIG = 23
ECHO = 24
WINDOW_SIZE = 5
ALERT_THRESHOLD_CM = 15.0


def setup():
    GPIO.setmode(GPIO.BCM)
    GPIO.setup(TRIG, GPIO.OUT)
    GPIO.setup(ECHO, GPIO.IN)
    GPIO.output(TRIG, False)
    print("[BOOT] HC-SR04 filtered reader ready")
    time.sleep(0.5)


def read_raw_cm(timeout=0.04):
    GPIO.output(TRIG, True)
    time.sleep(0.00001)
    GPIO.output(TRIG, False)

    start_wait = time.time()
    pulse_start = start_wait
    while GPIO.input(ECHO) == 0:
        pulse_start = time.time()
        if pulse_start - start_wait > timeout:
            return None

    pulse_end = time.time()
    stop_wait = pulse_end
    while GPIO.input(ECHO) == 1:
        pulse_end = time.time()
        if pulse_end - stop_wait > timeout:
            return None

    distance = (pulse_end - pulse_start) * 34300 / 2
    if distance < 2 or distance > 400:
        return None
    return distance


def main():
    setup()
    window = deque(maxlen=WINDOW_SIZE)
    try:
        while True:
            raw = read_raw_cm()
            if raw is not None:
                window.append(raw)

            if len(window) == 0:
                print("[WARN] Chua co du lieu hop le")
            else:
                avg = sum(window) / len(window)
                status = "CANH BAO - VAT THE QUA GAN!" if avg < ALERT_THRESHOLD_CM else "OK"
                print(f"Khoang cach (loc): {avg:.1f} cm | {status}")

            time.sleep(0.3)
    except KeyboardInterrupt:
        print("\n[EXIT] Dung boi nguoi dung")
    finally:
        GPIO.cleanup()


if __name__ == "__main__":
    main()
6. Example #3 — The Real Application: a Continuous Monitoring Service (JSON Telemetry)
The version closest to a real application: it runs as a background service, periodically printing JSON telemetry data (easy to pipe into a logging/dashboard system), and automatically reports a "degraded" status when the sensor loses signal repeatedly instead of crashing the program — an important principle for any long-running real-world sensor deployment.
#!/usr/bin/env python3
"""
Raspberry Pi + HC-SR04 - Dich vu giam sat khoang cach lien tuc (telemetry JSON)
Ung dung thuc te: log khoang cach dinh ky, tu bao trang thai "degraded"
khi cam bien loi tam thoi thay vi crash chuong trinh.
"""
import RPi.GPIO as GPIO
import time
import json

TRIG = 23
ECHO = 24
TELEMETRY_INTERVAL_S = 2.0
MAX_CONSECUTIVE_FAILURES = 5


def setup():
    GPIO.setmode(GPIO.BCM)
    GPIO.setup(TRIG, GPIO.OUT)
    GPIO.setup(ECHO, GPIO.IN)
    GPIO.output(TRIG, False)
    print("=" * 50)
    print("[BOOT] HC-SR04 Distance Monitoring Service")
    print("[BOOT] TRIG=GPIO23 ECHO=GPIO24 (qua cau phan ap 10k/10k)")
    print("=" * 50)
    time.sleep(0.5)


def read_distance_cm(timeout=0.04):
    GPIO.output(TRIG, True)
    time.sleep(0.00001)
    GPIO.output(TRIG, False)

    start_wait = time.time()
    pulse_start = start_wait
    while GPIO.input(ECHO) == 0:
        pulse_start = time.time()
        if pulse_start - start_wait > timeout:
            return None

    pulse_end = time.time()
    stop_wait = pulse_end
    while GPIO.input(ECHO) == 1:
        pulse_end = time.time()
        if pulse_end - stop_wait > timeout:
            return None

    distance = (pulse_end - pulse_start) * 34300 / 2
    if distance < 2 or distance > 400:
        return None
    return round(distance, 1)


def main():
    setup()
    consecutive_failures = 0
    last_telemetry = 0.0

    try:
        while True:
            distance = read_distance_cm()

            if distance is None:
                consecutive_failures += 1
            else:
                consecutive_failures = 0

            now = time.time()
            if now - last_telemetry >= TELEMETRY_INTERVAL_S:
                degraded = consecutive_failures >= MAX_CONSECUTIVE_FAILURES
                telemetry = {
                    "sensor": "hcsr04",
                    "distance_cm": None if degraded else distance,
                    "status": "degraded" if degraded else "ok",
                    "consecutive_failures": consecutive_failures,
                }
                print(json.dumps(telemetry))
                last_telemetry = now

                if degraded:
                    print("[WARN] Cam bien mat tin hieu lien tuc - kiem tra day noi/nguon")

            time.sleep(0.1)
    except KeyboardInterrupt:
        print("\n[EXIT] Dung boi nguoi dung")
    finally:
        GPIO.cleanup()


if __name__ == "__main__":
    main()
7. Common Issues
| Issue | Cause | Fix |
|---|---|---|
Always getting None / timeout | Wrong TRIG/ECHO pins, or the sensor isn't getting a full 5V supply | Recheck the wiring against the table in section 3; measure the VCC voltage with a multimeter |
| Readings jump around wildly, large errors | Electrical noise, poor breadboard contact, or an object with a sound-absorbing surface (fabric, foam) | Use the moving-average filtered version (section 5); recheck the breadboard connections |
| GPIO24 always reads HIGH regardless of whether there's an obstacle | Missing the R2 resistor (pull-down to GND) in the voltage divider — the pin is floating | Make sure both R1 and R2 are wired exactly as in the diagram in section 3 — don't skip R2 |
RuntimeError: This channel is already in use | A previous run exited without calling GPIO.cleanup() | Always wrap the code in a try/finally block that calls GPIO.cleanup(), as in the sample code |
| The Raspberry Pi's GPIO stops responding / a GPIO pin is permanently dead | ECHO was wired directly to a GPIO without the voltage divider (5V into a 3.3V pin) | There's no fix for damaged hardware — always double-check the voltage divider carefully before powering on for the first time |
8. Summary
Through this project, you've learned the principle behind ultrasonic distance measurement (timing the flight of a reflected wave), and more importantly, a foundational skill for working with a Raspberry Pi: always check the logic voltage level of any sensor/module before connecting it to GPIO, and use a resistor voltage divider whenever you need to step a 5V signal down to 3.3V.
The three code samples — going from basic reading → noise filtering → a telemetry monitoring service — show how to turn a demo snippet into a more reliable component of a real system. A next step to try: pair this sensor with a buzzer/LED to build a parking sensor, or send the data via MQTT to an IoT dashboard.