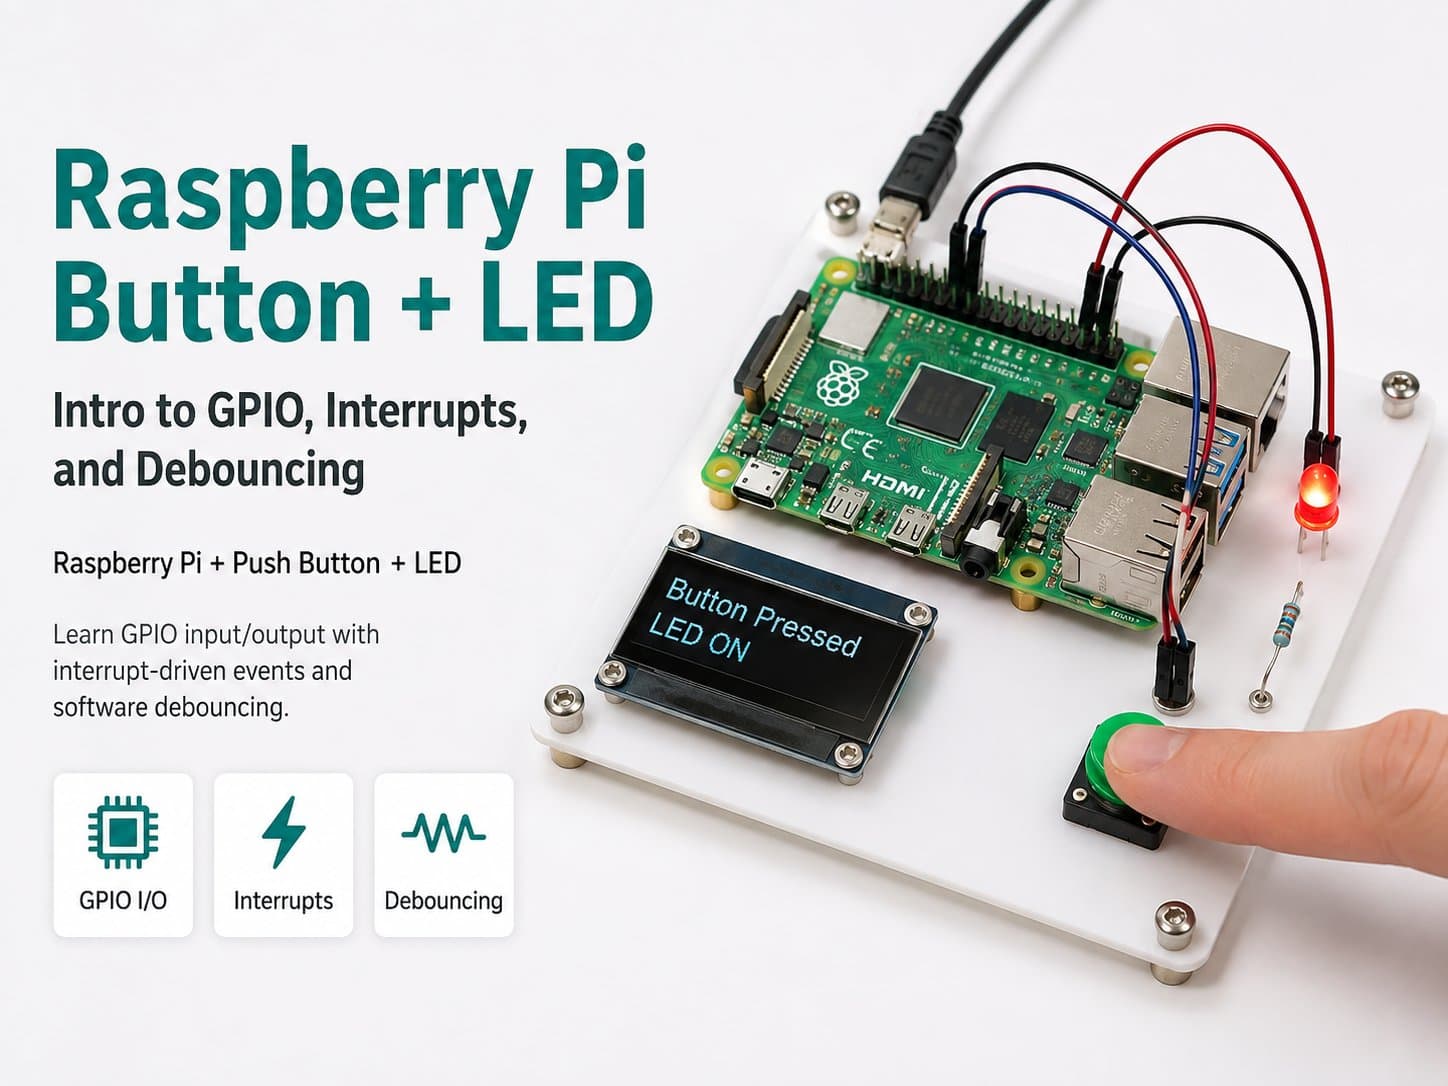
Raspberry Pi + Button/LED: Intro to GPIO, Interrupts, and Debouncing
An introduction to GPIO input/output on Raspberry Pi using a push button and an LED: basic digital read/write, handling interrupts (event detection), and software debouncing.
The fourth GPIO intro project, and arguably the most fundamental one: a button controlling an LED. It's the classic exercise for understanding the three core concepts of GPIO programming on Raspberry Pi — digital I/O read/write.
Handling events with interrupts (GPIO.add_event_detect) instead of CPU-hungry polling, and most importantly, debouncing: the phenomenon where a button's mechanical contacts "chatter" for a few milliseconds when pressed or released, which can make the program misread it as several rapid presses if not handled correctly.
Detailed guide
An introduction to GPIO input/output on Raspberry Pi using a push button and an LED: basic digital read/write, handling interrupts, and software debouncing.
1. Introduction
A button controlling an LED is the "Hello World" of GPIO hardware programming — but beneath its simplicity are three foundational concepts anyone working with microcontrollers needs to master.
First, digital I/O read/write: configuring a pin as INPUT or OUTPUT, reading HIGH/LOW levels, writing control signals.
Second, handling events with interrupts (hardware interrupts, called event detection in RPi.GPIO) instead of continuous polling — letting the program react instantly without wasting CPU.
Third, and most important for a mechanical push button: debouncing — when you press or release a mechanical button, the metal contact inside doesn't open/close cleanly in an instant; it "bounces" back and forth for a few milliseconds, which a processor reading signals at MHz speeds can misread as dozens of rapid presses/releases if not handled correctly.
2. Components Needed
Component | Qty | Reference Price |
|---|---|---|
Raspberry Pi 4 Model B (with Raspberry Pi OS installed) | 1 | ~1,500,000₫ |
6×6mm tactile push button | 1 | ~500₫ |
Single LED module (with onboard current-limiting resistor) | 1 | ~5,000₫ |
Breadboard + jumper wires | 1 set | ~30,000₫ |
3. Wiring Diagram
Module pin | Raspberry Pi 4 |
|---|---|
Push button – pin A | GPIO4 (Pin 7) |
Push button – pin B | GND |
LED VCC | 3V3 (Pin 1) |
LED GND | GND |
LED IN | GPIO25 (Pin 22) |
About pull-up/pull-down: the button only has 2 pins (A-B) — pressing it connects A to B (to GND); when released, pin A "floats" without a pull resistor, causing noisy, random readings.
Instead of an external physical pull-up resistor, this project uses the internal pull-up built into the Raspberry Pi's Broadcom chip, enabled via GPIO.setup(pin, GPIO.IN, pull_up_down=GPIO.PUD_UP): when not pressed, the pin is pulled HIGH (3.3V) through an internal resistor (~50kΩ); when pressed, the pin connects straight to GND and reads LOW.
4. Example #1 — Reading the Button via Polling + Software Debounce
The simplest debounce technique: read the pin several times in quick succession, and only accept the result once all the readings agree (stable).
#!/usr/bin/env python3
"""
Raspberry Pi + Button/LED - Nhap mon GPIO: doc nut nhan (polling) + debounce phan mem
Wiring:
  Button chan A -> GPIO4 (pull-up noi bo, nhan = LOW)
  Button chan B -> GND
  LED IN        -> GPIO25
"""
import RPi.GPIO as GPIO
import time

BUTTON_PIN = 4
LED_PIN = 25
DEBOUNCE_S = 0.05


def setup():
    GPIO.setmode(GPIO.BCM)
    GPIO.setup(BUTTON_PIN, GPIO.IN, pull_up_down=GPIO.PUD_UP)
    GPIO.setup(LED_PIN, GPIO.OUT)
    GPIO.output(LED_PIN, False)
    print("[BOOT] Button/LED polling demo ready (GPIO4=button, GPIO25=led)")


def read_debounced(pin, stable_reads=3, sample_delay=DEBOUNCE_S / 3):
    """Doc pin nhieu lan lien tiep, chi tin ket qua khi on dinh."""
    last = GPIO.input(pin)
    stable_count = 1
    for _ in range(stable_reads - 1):
        time.sleep(sample_delay)
        current = GPIO.input(pin)
        if current == last:
            stable_count += 1
        else:
            last = current
            stable_count = 1
    return last if stable_count >= stable_reads else None


def main():
    setup()
    led_state = False
    last_button_state = GPIO.HIGH  # nha (khong nhan) = HIGH voi pull-up

    try:
        while True:
            stable = read_debounced(BUTTON_PIN)
            if stable is not None and stable != last_button_state:
                if stable == GPIO.LOW:  # canh xuong = vua nhan
                    led_state = not led_state
                    GPIO.output(LED_PIN, led_state)
                    print(f"[BUTTON] Nhan -> LED {'BAT' if led_state else 'TAT'}")
                last_button_state = stable
            time.sleep(0.02)
    except KeyboardInterrupt:
        print("\n[EXIT] Dung boi nguoi dung")
    finally:
        GPIO.cleanup()


if __name__ == "__main__":
    main()
5. Example #2 — Handling It with Interrupts (GPIO.add_event_detect)
Instead of continuous polling (a while True loop constantly checking), this version registers a callback that only fires on a falling edge on the button pin — more efficient, and proper event-driven programming. RPi.GPIO's bouncetime parameter automatically blocks repeated events within X milliseconds (library-level debounce), but for absolute certainty, the code still re-reads the pin level after a short delay to confirm.
#!/usr/bin/env python3
"""
Raspberry Pi + Button/LED - Xu ly nut nhan bang ngat (interrupt/event detection)
Su dung GPIO.add_event_detect + bouncetime + xac nhan lai muc pin de chong nay chinh xac hon.
"""
import RPi.GPIO as GPIO
import time

BUTTON_PIN = 4
LED_PIN = 25
CONFIRM_DELAY_S = 0.02  # doi ngan roi doc lai de xac nhan muc on dinh (chong nay phan cung)

led_state = False


def button_pressed(channel):
    global led_state
    time.sleep(CONFIRM_DELAY_S)
    if GPIO.input(channel) != GPIO.LOW:
        return  # nhieu/nay - khong phai nhan that
    led_state = not led_state
    GPIO.output(LED_PIN, led_state)
    print(f"[IRQ] Nut nhan (interrupt) -> LED {'BAT' if led_state else 'TAT'}")


def setup():
    GPIO.setmode(GPIO.BCM)
    GPIO.setup(BUTTON_PIN, GPIO.IN, pull_up_down=GPIO.PUD_UP)
    GPIO.setup(LED_PIN, GPIO.OUT)
    GPIO.output(LED_PIN, False)
    GPIO.add_event_detect(BUTTON_PIN, GPIO.FALLING, callback=button_pressed, bouncetime=200)
    print("[BOOT] Interrupt-driven button/LED demo ready")


def main():
    setup()
    try:
        while True:
            time.sleep(1)  # main loop ranh - xu ly hoan toan qua callback ngat
    except KeyboardInterrupt:
        print("\n[EXIT] Dung boi nguoi dung")
    finally:
        GPIO.cleanup()


if __name__ == "__main__":
    main()
6. Example #3 — A Real Application: Multi-Function Button (Short Press/Long Press)
A common real-world pattern on IoT devices: a single button that distinguishes between a short press (under 0.6 seconds → toggle) and a long press (0.6 seconds or more → blink 3 times as a signal, e.g. to reset configuration). This technique uses GPIO.BOTH to catch both rising and falling edges, measuring the time between the two events to classify the action.
#!/usr/bin/env python3
"""
Raspberry Pi + Button/LED - Ung dung thuc te: nut nhan da chuc nang
Nhan ngan (<0.6s) -> bat/tat LED
Nhan giu (>=0.6s) -> LED nhap nhay bao hieu 3 lan
Ket hop interrupt GPIO.BOTH de do thoi gian giu nut chinh xac.
"""
import RPi.GPIO as GPIO
import time

BUTTON_PIN = 4
LED_PIN = 25
LONG_PRESS_S = 0.6
DEBOUNCE_MS = 200

press_start = None
led_state = False


def blink(times=3, on_time=0.15, off_time=0.15):
    original = led_state
    for _ in range(times):
        GPIO.output(LED_PIN, True)
        time.sleep(on_time)
        GPIO.output(LED_PIN, False)
        time.sleep(off_time)
    GPIO.output(LED_PIN, original)


def on_edge(channel):
    global press_start, led_state
    time.sleep(0.02)  # xac nhan muc on dinh (chong nay)
    level = GPIO.input(channel)

    if level == GPIO.LOW:  # canh xuong = bat dau nhan
        press_start = time.time()
        return

    # canh len = tha nut
    if press_start is None:
        return
    held = time.time() - press_start
    press_start = None

    if held >= LONG_PRESS_S:
        print(f"[BUTTON] Nhan giu {held:.2f}s -> bao hieu nhap nhay")
        blink()
    else:
        led_state = not led_state
        GPIO.output(LED_PIN, led_state)
        print(f"[BUTTON] Nhan ngan {held:.2f}s -> LED {'BAT' if led_state else 'TAT'}")


def setup():
    GPIO.setmode(GPIO.BCM)
    GPIO.setup(BUTTON_PIN, GPIO.IN, pull_up_down=GPIO.PUD_UP)
    GPIO.setup(LED_PIN, GPIO.OUT)
    GPIO.output(LED_PIN, False)
    GPIO.add_event_detect(BUTTON_PIN, GPIO.BOTH, callback=on_edge, bouncetime=DEBOUNCE_MS)
    print("[BOOT] Multi-mode button ready: short=toggle, long(>=0.6s)=blink x3")


def main():
    setup()
    try:
        while True:
            time.sleep(1)
    except KeyboardInterrupt:
        print("\n[EXIT] Dung boi nguoi dung")
    finally:
        GPIO.cleanup()


if __name__ == "__main__":
    main()
7. Common Issues
Issue | Cause | Fix |
|---|---|---|
The LED toggles "erratically" multiple times from a single press | No debouncing — the mechanical contact bounces on open/close, causing the program to read multiple false signal edges | Use bouncetime in add_event_detect() and/or re-confirm the pin level after a short delay, as in examples #2 and #3 |
The button pin reads random values when not pressed | The GPIO pin is "floating" — missing a pull-up/pull-down | Enable the internal pull-up with pull_up_down=GPIO.PUD_UP in GPIO.setup() |
| add_event_detect() was called multiple times on the same pin without calling remove_event_detect() or GPIO.cleanup() first | Make sure event detection is registered only once in setup(), and always call GPIO.cleanup() on exit |
The callback never fires even though the button was pressed | The wrong edge type was registered (e.g. GPIO.RISING was used, but since the logic is active-low, the real event is FALLING) | Confirm the circuit's pull-up/active-low logic before choosing RISING/FALLING/BOTH |
The long-press code always reports "short press" even when held for a while | The press_start variable is reset incorrectly due to a misread callback, or bouncetime is too large and swallows the rising-edge event when the button is released | Lower bouncetime to a reasonable value (100–200ms) and check the printed logs at each step to debug |
8. Summary
The button + LED project looks simple, but it teaches all three foundational GPIO skills: digital I/O read/write, handling events efficiently with interrupts instead of polling, and debouncing correctly — skills that will follow you through every hardware project after this, from motion sensors to rotary encoders to matrix keypads.
The three code samples — from basic polling → interrupts → a multi-function short-press/long-press button — show how to progressively increase complexity and reliability. A natural next step: combine multiple buttons into a control menu, or use interrupts with a rotary encoder to read a digital analog-like value.