ESP32-CAM: Time-Lapse Camera for Plant Growth Monitoring
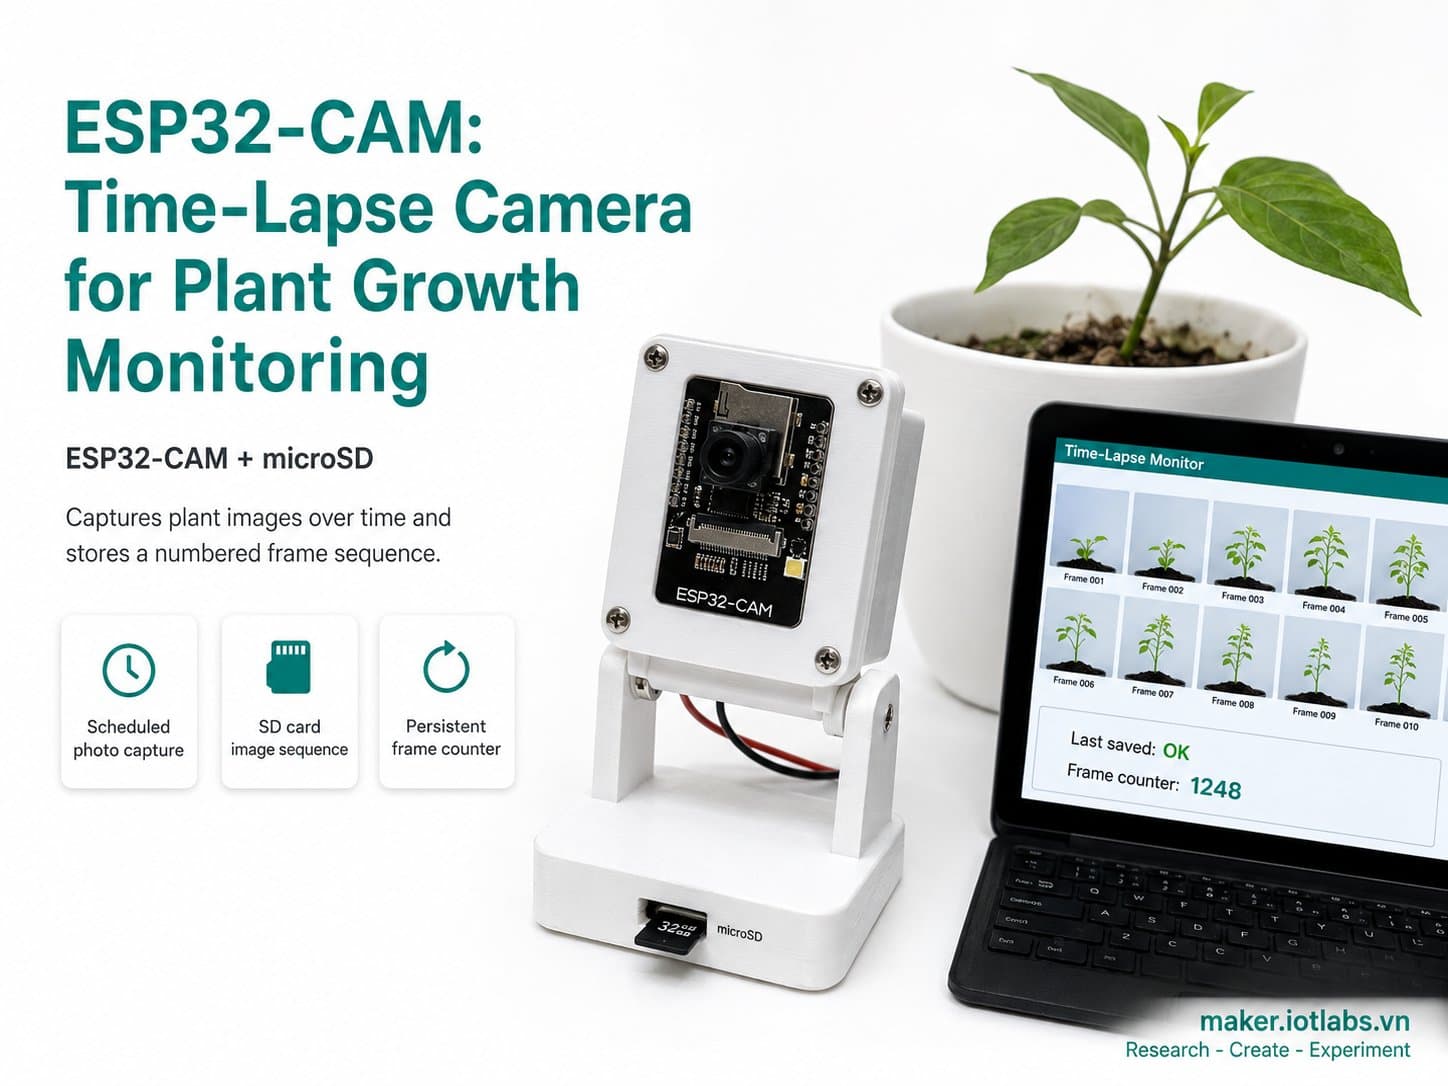
ESP32-CAM periodically snaps photos (every 10 minutes by default) and saves them to an SD card as a sequence — frame_00001.jpg, frame_00002.jpg, and so on — ready to be stitched into a time-lapse video of plant growth, with a frame counter that survives resets.
The ESP32-CAM makes a cheap time-lapse camera for tracking plant growth over days or weeks.
This project takes JPEG photos on a schedule and saves them to an SD card in sequence — frame_00001.jpg, frame_00002.jpg, and so on. Unlike a basic scheduled-capture project, the frame counter is persisted to a counter.txt file on the SD card so it survives a mid-sequence reset (say, a power loss), keeping the time-lapse sequence unbroken.
Stitching the image sequence into a video (e.g. with ffmpeg) is done on a computer after pulling the SD card — not on the ESP32 itself.
You can use either an ESP32-CAM (AI-Thinker) or an ESP32-S3 WROOM N16R8 CAM with an OV2640 2MP / OV5640 5MP sensor for this project.
Detailed guide
ESP32-CAM periodically snaps photos and saves them to an SD card as a sequence — full 8-section guide, wiring diagram, and compile-verified code with a reset-proof frame counter.
1. Introduction
The ESP32-CAM is a cheap way to build a time-lapse camera for tracking plant growth over days or weeks. This project takes JPEG photos on a schedule (every 10 minutes by default) and saves them to an SD card in sequence: frame_00001.jpg, frame_00002.jpg, and so on.
What sets it apart from a basic "scheduled capture" project: the frame counter is persisted to a counter.txt file on the SD card, so it doesn't get lost or reset when the device restarts mid-sequence (say, after a power outage) — keeping the time-lapse sequence unbroken and never overwritten.
2. Components Needed
Component | Qty | Notes |
|---|---|---|
ESP32-CAM (AI-Thinker), OV2640 | 1 | Built-in camera + microSD slot, 4MB PSRAM |
FTDI USB-to-Serial programmer | 1 | Required for flashing firmware over UART |
microSD card (FAT32, ≤32GB recommended) | 1 | Needs enough capacity for a long-running time-lapse (UXGA ~200-400KB per photo) |
A stable 5V/1A power supply + a fixed camera mount | 1 | A time-lapse needs the camera position/angle to stay fixed throughout the monitoring period |
3. Wiring Diagram
FTDI | ESP32-CAM |
|---|---|
TX | GPIO3 (RX) |
RX | GPIO1 (TX) |
GND | GND |
5V | 5V |
Insert the microSD card into the board's built-in slot. Use SD_MMC in 1-bit mode to avoid conflicting with GPIO4 (the flash LED) — see the pin configuration details in the sample code below.
4. Environment Setup
Arduino IDE, board set to AI Thinker ESP32-CAM (FQBN esp32:esp32:esp32cam). No extra libraries needed — esp_camera.h, FS.h, and SD_MMC.h already ship with esp32 core 3.3.10.
5. Sample Code — Time-Lapse with a Persistent Counter
/*
  ESP32-CAM: Time-lapse Camera giam sat cay trong
  Board: ESP32-CAM (AI-Thinker), OV2640 + khe microSD tich hop

  Chup anh dinh ky (TIMELAPSE_INTERVAL_MS) va luu vao /timelapse/frame_NNNNN.jpg
  tren SD_MMC (1-bit mode). So thu tu frame duoc luu ben trong file counter.txt
  tren the SD de khong bi mat/trung so khi thiet bi khoi dong lai giua chung
  (vd sau mat dien) - dam bao chuoi anh time-lapse lien tuc. Ghep chuoi anh
  thanh video (vd ffmpeg -framerate 24 -i frame_%05d.jpg out.mp4) duoc thuc
  hien O MAY TINH sau khi rut the SD, khong xu ly tren ESP32.
*/

#include "esp_camera.h"
#include "Arduino.h"
#include "FS.h"
#include "SD_MMC.h"

// ---------- Chan camera co dinh cua AI-Thinker ESP32-CAM ----------
#define PWDN_GPIO_NUM     32
#define RESET_GPIO_NUM    -1
#define XCLK_GPIO_NUM      0
#define SIOD_GPIO_NUM     26
#define SIOC_GPIO_NUM     27
#define Y9_GPIO_NUM       35
#define Y8_GPIO_NUM       34
#define Y7_GPIO_NUM       39
#define Y6_GPIO_NUM       36
#define Y5_GPIO_NUM       21
#define Y4_GPIO_NUM       19
#define Y3_GPIO_NUM       18
#define Y2_GPIO_NUM        5
#define VSYNC_GPIO_NUM    25
#define HREF_GPIO_NUM     23
#define PCLK_GPIO_NUM     22

#define TIMELAPSE_DIR          "/timelapse"
#define COUNTER_FILE            "/timelapse/counter.txt"
#define TIMELAPSE_INTERVAL_MS  (10UL * 60UL * 1000UL) // 10 phut/frame (chinh theo toc do sinh truong cay)

bool cameraReady = false;
bool sdReady = false;
unsigned long lastCaptureMs = 0;
unsigned int frameIndex = 0;

static bool initCamera() {
  camera_config_t config;
  config.ledc_channel = LEDC_CHANNEL_0;
  config.ledc_timer = LEDC_TIMER_0;
  config.pin_d0 = Y2_GPIO_NUM;
  config.pin_d1 = Y3_GPIO_NUM;
  config.pin_d2 = Y4_GPIO_NUM;
  config.pin_d3 = Y5_GPIO_NUM;
  config.pin_d4 = Y6_GPIO_NUM;
  config.pin_d5 = Y7_GPIO_NUM;
  config.pin_d6 = Y8_GPIO_NUM;
  config.pin_d7 = Y9_GPIO_NUM;
  config.pin_xclk = XCLK_GPIO_NUM;
  config.pin_pclk = PCLK_GPIO_NUM;
  config.pin_vsync = VSYNC_GPIO_NUM;
  config.pin_href = HREF_GPIO_NUM;
  config.pin_sscb_sda = SIOD_GPIO_NUM;
  config.pin_sscb_scl = SIOC_GPIO_NUM;
  config.pin_pwdn = PWDN_GPIO_NUM;
  config.pin_reset = RESET_GPIO_NUM;
  config.xclk_freq_hz = 20000000;
  config.pixel_format = PIXFORMAT_JPEG;

  if (psramFound()) {
    config.frame_size = FRAMESIZE_UXGA; // 1600x1200 - chat luong cao cho time-lapse
    config.jpeg_quality = 10;
    config.fb_count = 2;
    config.fb_location = CAMERA_FB_IN_PSRAM;
    Serial.println("[CAM] PSRAM OK -> UXGA JPEG, fb_count=2");
  } else {
    config.frame_size = FRAMESIZE_SVGA; // 800x600 khi khong co PSRAM
    config.jpeg_quality = 14;
    config.fb_count = 1;
    config.fb_location = CAMERA_FB_IN_DRAM;
    Serial.println("[CAM] Khong thay PSRAM -> giam xuong SVGA JPEG, fb_count=1");
  }

  esp_err_t err = esp_camera_init(&config);
  if (err != ESP_OK) {
    Serial.printf("[CAM] Khoi tao that bai, ma loi 0x%x\n", err);
    return false;
  }

  sensor_t *s = esp_camera_sensor_get();
  if (s) {
    // Anh sang ngoai troi/trong nha thay doi nhieu trong ngay -> bat AEC/AGC tu dong
    s->set_exposure_ctrl(s, 1);
    s->set_gain_ctrl(s, 1);
    s->set_whitebal(s, 1);
  }
  return true;
}

static unsigned int loadCounter() {
  if (!SD_MMC.exists(COUNTER_FILE)) return 0;
  File f = SD_MMC.open(COUNTER_FILE, FILE_READ);
  if (!f) return 0;
  unsigned int value = f.parseInt();
  f.close();
  return value;
}

static void saveCounter(unsigned int value) {
  File f = SD_MMC.open(COUNTER_FILE, FILE_WRITE);
  if (!f) {
    Serial.println("[SD] Khong ghi duoc counter.txt");
    return;
  }
  f.print(value);
  f.close();
}

static bool initSdCard() {
  if (!SD_MMC.begin("/sdcard", true)) { // 1-bit mode, tranh xung GPIO4 (flash LED / SD_D1)
    Serial.println("[SD] Mount that bai. Kiem tra the SD da cam chua / dinh dang FAT32.");
    return false;
  }
  uint8_t cardType = SD_MMC.cardType();
  if (cardType == CARD_NONE) {
    Serial.println("[SD] Khong phat hien the SD.");
    return false;
  }

  if (!SD_MMC.exists(TIMELAPSE_DIR)) {
    SD_MMC.mkdir(TIMELAPSE_DIR);
  }

  frameIndex = loadCounter();
  uint64_t cardSizeMB = SD_MMC.cardSize() / (1024 * 1024);
  Serial.printf("[SD] San sang, dung luong %llu MB, tiep tuc tu frame #%u\n", cardSizeMB, frameIndex);
  return true;
}

static void captureFrame() {
  camera_fb_t *fb = esp_camera_fb_get();
  if (!fb) {
    Serial.println("[CAM] Lay khung hinh that bai, bo qua frame nay.");
    return;
  }

  Serial.printf("[CAM] Chup thanh cong: %dx%d, %u bytes\n", fb->width, fb->height, fb->len);

  if (sdReady) {
    char path[48];
    snprintf(path, sizeof(path), "%s/frame_%05u.jpg", TIMELAPSE_DIR, frameIndex);
    File file = SD_MMC.open(path, FILE_WRITE);
    if (!file) {
      Serial.printf("[SD] Khong mo duoc file %s de ghi.\n", path);
    } else {
      file.write(fb->buf, fb->len);
      file.close();
      frameIndex++;
      saveCounter(frameIndex);
      Serial.printf("[SD] Da luu: %s (tong %u frame)\n", path, frameIndex);
    }
  } else {
    Serial.println("[SD] SD khong san sang, bo qua luu frame nay.");
  }

  esp_camera_fb_return(fb);
}

void setup() {
  Serial.begin(115200);
  delay(300);
  Serial.println();
  Serial.println("=== ESP32-CAM Plant Time-lapse boot ===");

  cameraReady = initCamera();
  if (!cameraReady) {
    Serial.println("[CAM] Camera khong san sang, se thu lai trong loop().");
  }

  sdReady = initSdCard();

  lastCaptureMs = millis() - TIMELAPSE_INTERVAL_MS; // chup ngay frame dau khi boot
  Serial.printf("[SCHEDULE] Time-lapse: 1 frame moi %lu ms\n", TIMELAPSE_INTERVAL_MS);
}

void loop() {
  unsigned long now = millis();

  if (cameraReady && (now - lastCaptureMs >= TIMELAPSE_INTERVAL_MS)) {
    lastCaptureMs = now;
    captureFrame();
  }

  if (!cameraReady) {
    static unsigned long lastCamRetry = 0;
    if (now - lastCamRetry > 10000) {
      Serial.println("[CAM] Retry khoi tao camera...");
      cameraReady = initCamera();
      lastCamRetry = now;
    }
  }

  if (!sdReady) {
    static unsigned long lastSdRetry = 0;
    if (now - lastSdRetry > 30000) {
      Serial.println("[SD] Retry mount the SD...");
      sdReady = initSdCard();
      lastSdRetry = now;
    }
  }

  delay(50);
}
6. Code Walkthrough
loadCounter() / saveCounter(): reads/writes the current frame number to
counter.txton the SD card — when the device restarts (power loss, reset),frameIndexresumes from the saved value instead of resetting to 0 (avoiding overwriting older frames).Automatic AEC/AGC/AWB (
set_exposure_ctrl,set_gain_ctrl,set_whitebal): enabled because outdoor/indoor lighting changes significantly throughout the day — necessary for a time-lapse running for hours on end, so photos don't come out over- or under-exposed depending on when they were taken.UXGA resolution when PSRAM is available: prioritizes high image quality for the time-lapse (unlike the Telegram project, it isn't constrained by network bandwidth), falling back to SVGA when PSRAM isn't present.
A dedicated TIMELAPSE_DIR: keeps the
/timelapsefolder separate for easier management, so it doesn't mix with other files on the SD card.
7. Common Issues
Issue | Cause | Fix |
|---|---|---|
Frame numbers skip or aren't sequential | The SD card filled up partway through — the file write failed, but the counter correctly doesn't increment (expected behavior: no saved file means no counter bump) | Check SD card space periodically; at UXGA (~300KB/photo) and one photo every 10 minutes, a month needs about 1.3GB |
Time-lapse photos are misaligned or shaky | The camera isn't mounted securely | Use a stable mount/clamp, and avoid vibration from wind or bumps |
The assembled video looks jerky or has uneven time spacing | Repeated device resets make the interval between frames uneven | This is an inherent limitation of an uptime-based time-lapse; if you need absolute timestamps, add an RTC module (DS3231) and encode the timestamp into the filename |
Photos come out over- or under-exposed at night | The OV2640 has no IR illumination, so it isn't suited to shooting in total darkness | Add a supplementary LED light, or only run the time-lapse during hours with adequate light |
8. Summary
This project builds a standalone time-lapse camera that survives resets thanks to the counter saved on the SD card — well suited for long-term monitoring that doesn't need constant WiFi: tracking plant growth, construction progress, or any slow-moving process. Assembling the video from the image sequence is done offline with ffmpeg after pulling the SD card.